How to Make a Bathroom Look Vintage Without Gutting It
How to make a bathroom look vintage without a remodel: eight changes in order of impact, from sconces and cross handles to wainscot and a high-hung curtain, plus the parts you can't fake and how to soften them.

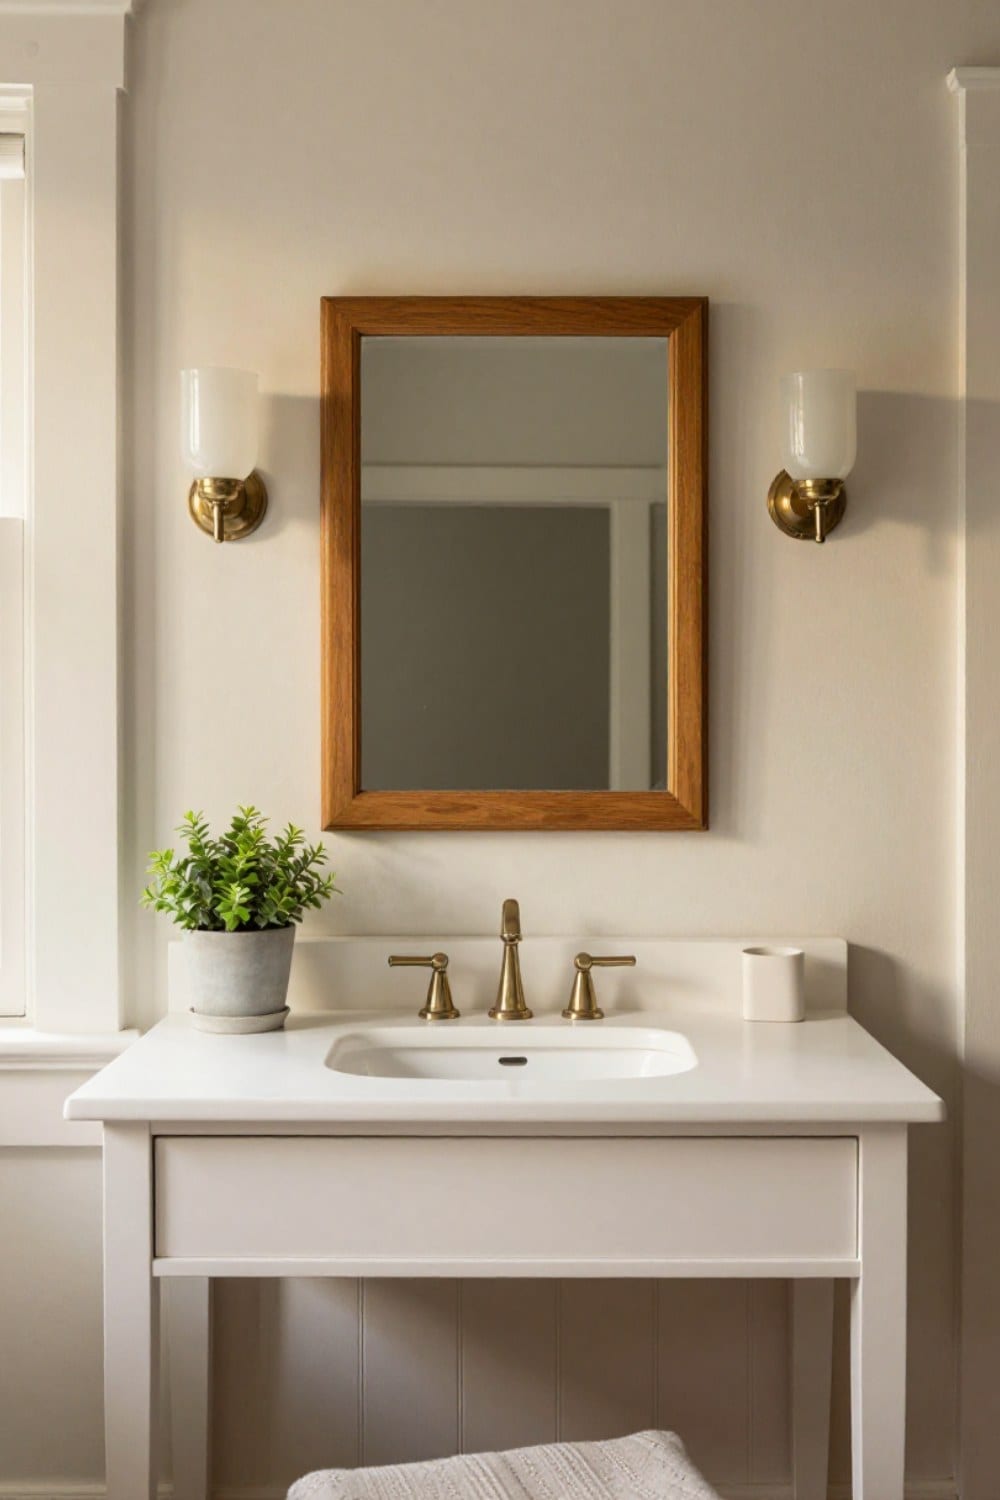
Learning how to make a bathroom look vintage starts with a small, slightly annoying truth. Most of the old-house look comes from about eight changes you can finish in a month, and none of them needs a sledgehammer.
Maybe yours is a builder-grade bathroom from the 1990s or the 2010s. A flat-front white vanity, a brushed-metal faucet, a strip of five bare bulbs over a mirror that's glued to the wall. It's clean. It also belongs to nobody. Our hall bath looked exactly like that the week we bought the house.
This is the order I'd do it in again, from the changes that matter most to the smallest ones. Finish the first three and the room already looks different. The rest is polish.
If you aren't sure which decade you're reaching for, retro bathroom styles walks through the 1920s to the 1960s one at a time. I'm aiming here for a loose, classic old-house bath: nickel, white, wood and glass.
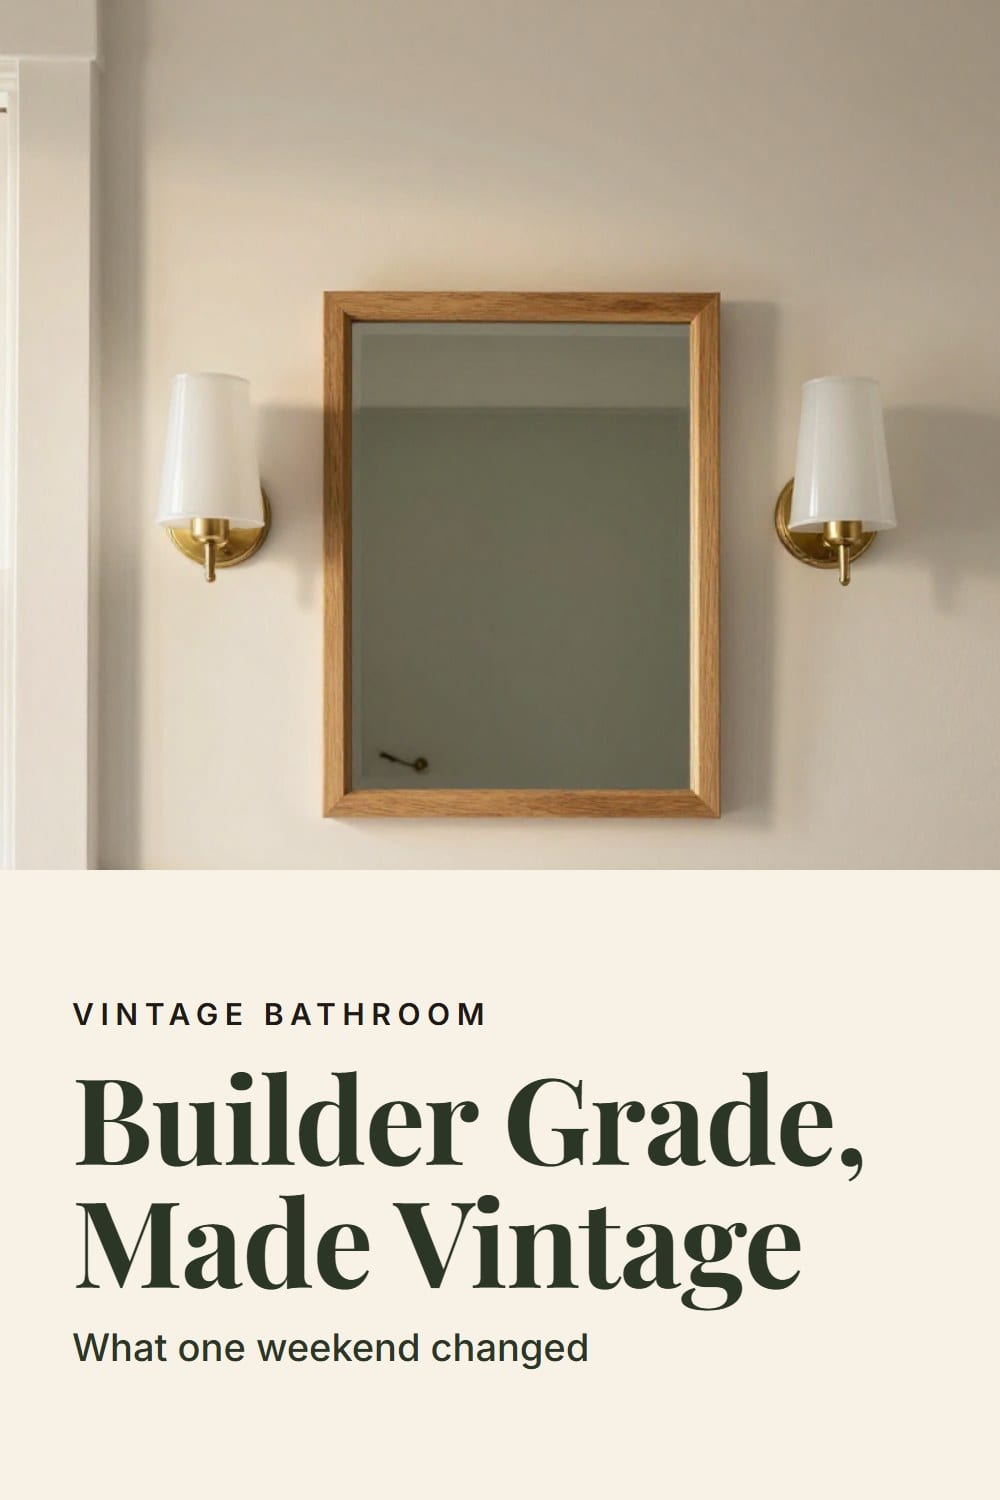
What vintage really means in a plain bathroom
Old bathrooms were practical rooms that happened to be well made. Painted wood, enamel, nickel, glass, cotton. Surfaces you could wipe down with a rag. The charm came from those materials aging, not from decoration.
So vintage, in a newer room, means borrowing the details a bathroom from 1935 would have had. Warm metal. Glass shades with some weight. A wall that stops partway up. Fabric where today's rooms use plastic.
It does not mean a theme. My first attempt involved a galvanized bucket, a stack of little wooden plaques and a rubber duck on the tank. The room looked like a gift shop, and I took most of it down within a week. The rule I follow now is simple: change the fixed things first and add objects last.
Be honest about what you can't fake
Some parts of a modern bathroom will never look old, and it saves a lot of frustration to say so up front.
The big one is the tub surround. A one-piece fiberglass or acrylic unit has a molded soap shelf, a glossy skin and an unbroken wall of white that no real bathroom from the 1930s had. You can't paint it convincingly, and I wouldn't try. Keep it clean, leave it white, and take the eye somewhere else. A fabric curtain hung high (step five below) hides most of it, and a wainscot line carried around the other three walls makes it feel like part of a plan.
The floor is the second one. Vinyl plank and large gray porcelain tile won't pass for hand-laid hex. If you're keeping the floor, a good runner does a lot of the work, and I'll come back to that. If you're ready to change it, vintage bathroom tile ideas shows the patterns that never date.
How to make a bathroom look vintage in eight changes
Here they are in order of impact. Four of them fit in one weekend. The other four can arrive slowly, which suits them anyway.
Change the light
Swap the faucet for cross handles
Paint the wall in two parts, or add beadboard
Frame the mirror, or replace it
Hang a fabric curtain high
Match every piece of hardware
Lay a vintage rug or runner
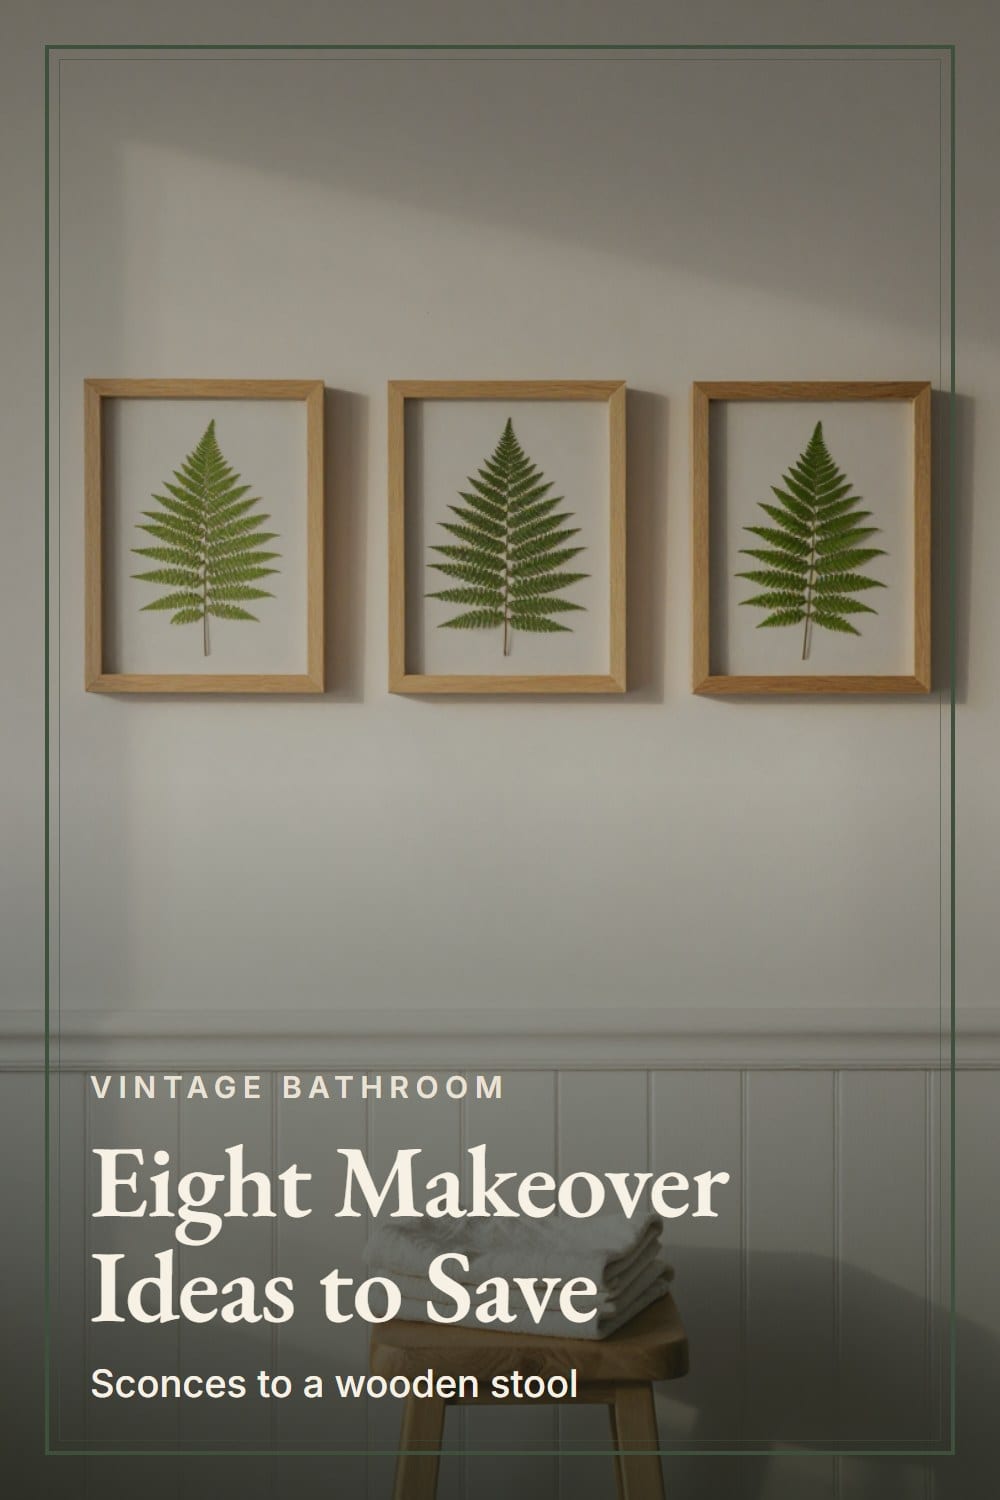
Add one piece of art and a wooden stool
A weekend, then a month: the order I'd do it in
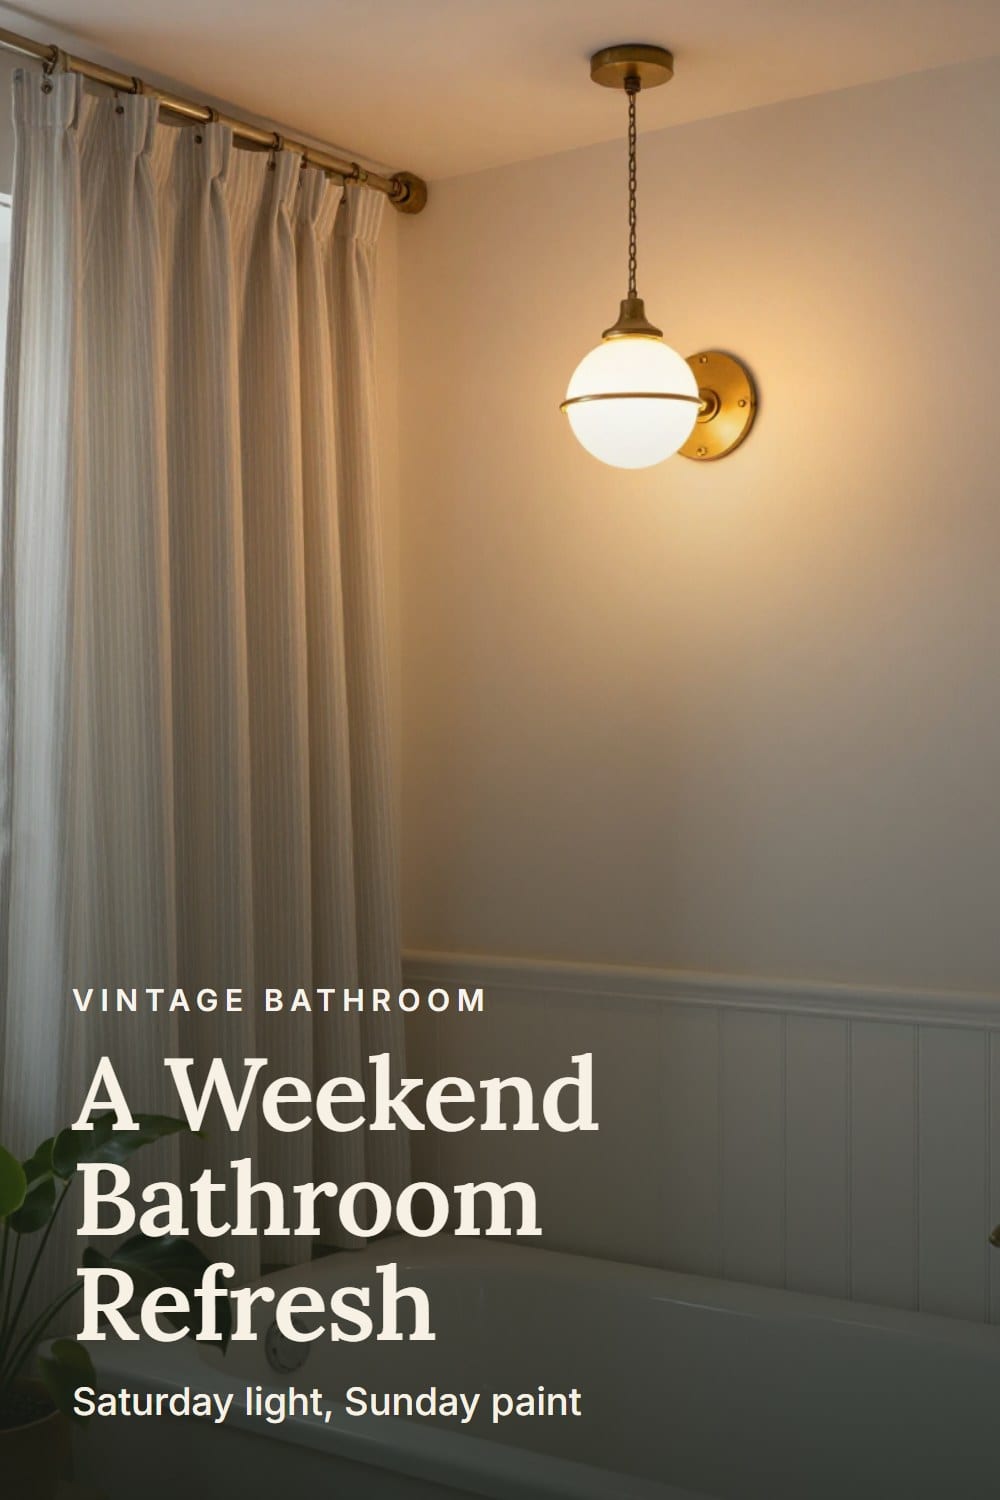
On Saturday morning, take down the strip light and put up the sconces, or call the electrician for that part. Swap the faucet while the paint is still in its can. That's a good day's work.
Sunday is the mirror frame and the first round of caulk and primer on the lower wall. By Sunday night the room reads differently, and you haven't bought a single decorative object.
The wainscot, the curtain and the hardware can take the next two or three weekends. The rug, the prints and the stool should take longer. The slower you collect those, the more they look found, and a bathroom that looks found is the whole point.
Mistakes that make a refresh look like a theme
- Mixing three metals in equal amounts. Pick one to lead and let a second show up once.
- Buying everything from one farmhouse line. The room ends up looking like a showroom floor.
- Hanging the curtain at the standard height, so the plastic surround shows above it.
- Putting a high-gloss finish on every surface. Use satin below the rail and eggshell above for a softer, older look.
- Adding decor before fixing the basics. Ten small objects under a strip light still look builder grade.
- Skipping the fan. Steam peels paint, warps wood trim and turns a good curtain gray.
If you'd like a particular era to guide the choices, 1920s bathroom ideas is the crisp white-and-nickel version, and grandmillennial bathroom ideas is the florals-and-skirted-sink version. For a darker room with old brass, see moody vintage bathroom ideas.
What to do about the floor and the tile
A refresh does not have to include new tile, but it helps to know where it would go. A white 3/4 inch hex floor is the classic, and the debate between that and penny tile is covered in hexagon vs penny tile. If you already have old tile you like, clean it gently before you decide anything. The walkthrough in how to clean old bathroom tile and grout is the one I'd follow.
Whatever you choose for the floor, keep the walls and the metal consistent with it. A runner, a wood stool and a nickel towel bar can bridge a floor that isn't quite right.
Keeping it looking right in the steam
Vintage finishes only look good while they're dry. A fan and a few habits keep the room from aging badly, as opposed to aging well.
A checklist before you start
- Test old adhesive, floor tile and trim paint if your house is older.
- Choose one metal: polished nickel or unlacquered brass.
- Measure the sink holes before ordering a faucet (4-inch centerset or 8-inch widespread).
- Mark the chair rail at 32 to 36 inches and tape it up for a day.
- Pick 2700K bulbs with a CRI of 90 or higher.
- Order an 84-inch fabric curtain and a ceiling-mounted rod.
- Check that every fixture near the tub is damp- or wet-rated.
- Make sure the fan works before you paint anything.
Start with the light and live with it for a week. Most of the other decisions get clearer once the room has the right glow. When you're ready for the longer version, vintage bathroom ideas is the complete guide to an old-house bath that lasts.
The Vintage Bathroom Refresh Planner
The printable is being finished. It will live here, free, with no sign-up wall.
Frequently asked
Can I make a new bathroom look vintage without remodeling?
What is the one change that matters most?
How high should wainscot be in a bathroom?
Does unlacquered brass work in a bathroom?
Sarah Whitmore
she keeps the teak, she oils it in spring
Sarah has furnished the same porch three times and finally stopped. She writes about what actually survives a decade outdoors — which wood silvers, which fabric fades, and which inexpensive piece quietly reads the same as the expensive one.
SarahMore from this corner
 Vintage Bathroom
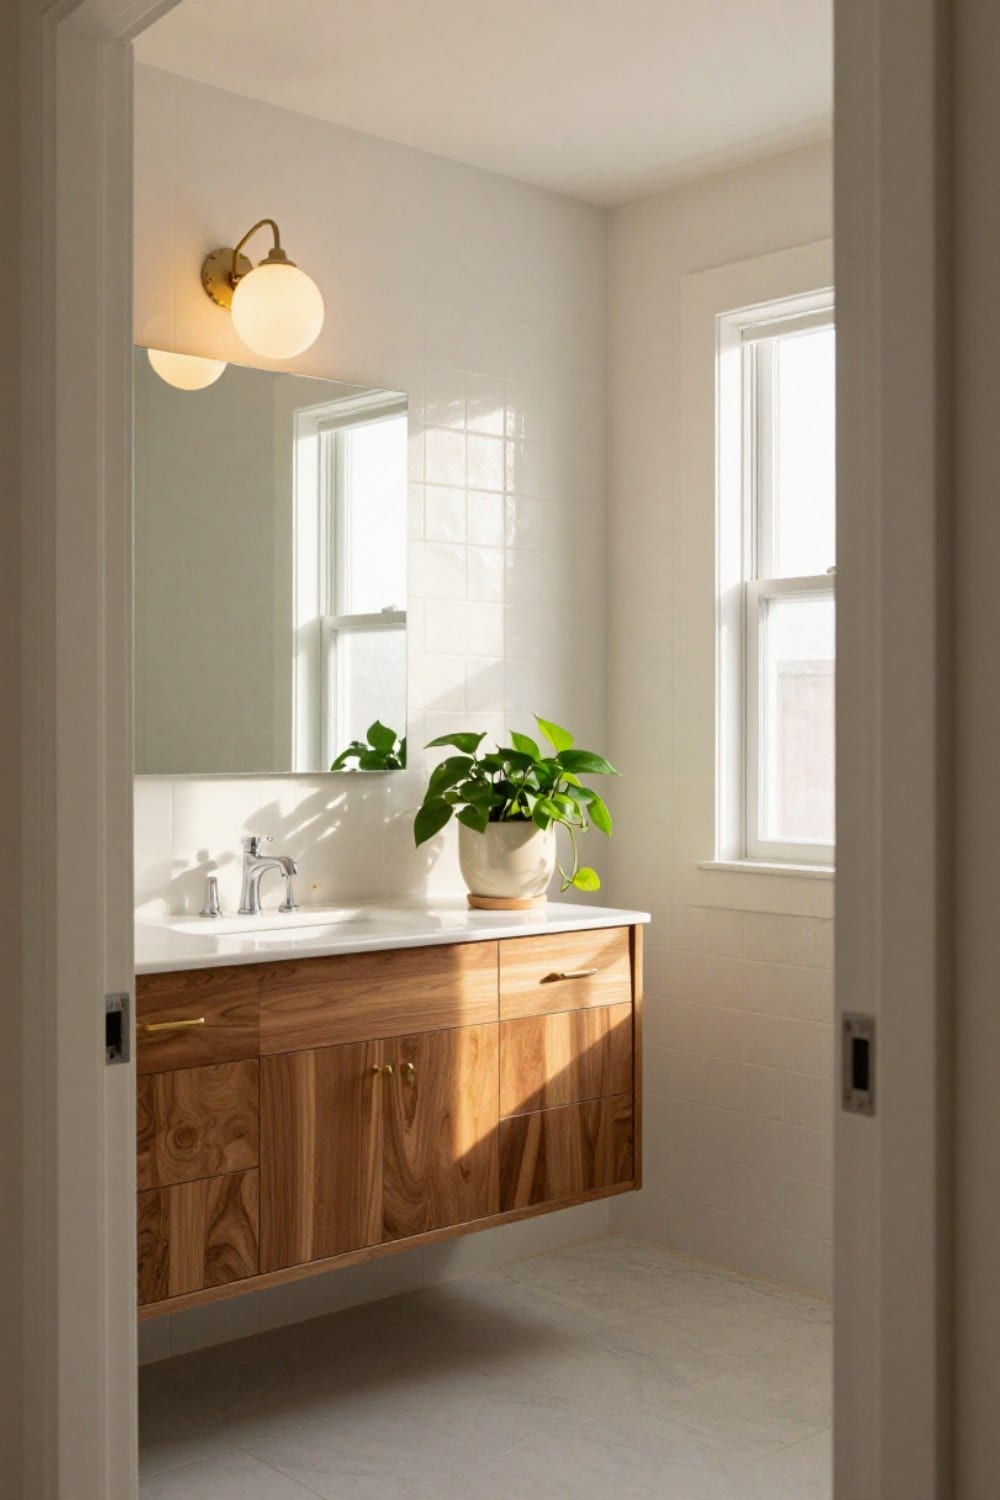
Mid Century Bathroom Ideas for a House Built in the 1950s and 60s
Mid century bathroom ideas for a ranch or split-level: the floating vanity, square and penny tile, globe lights, a wide mirror, and which original features to keep and update around.
Oct 31, 2026 · 12 min read
 Vintage Bathroom
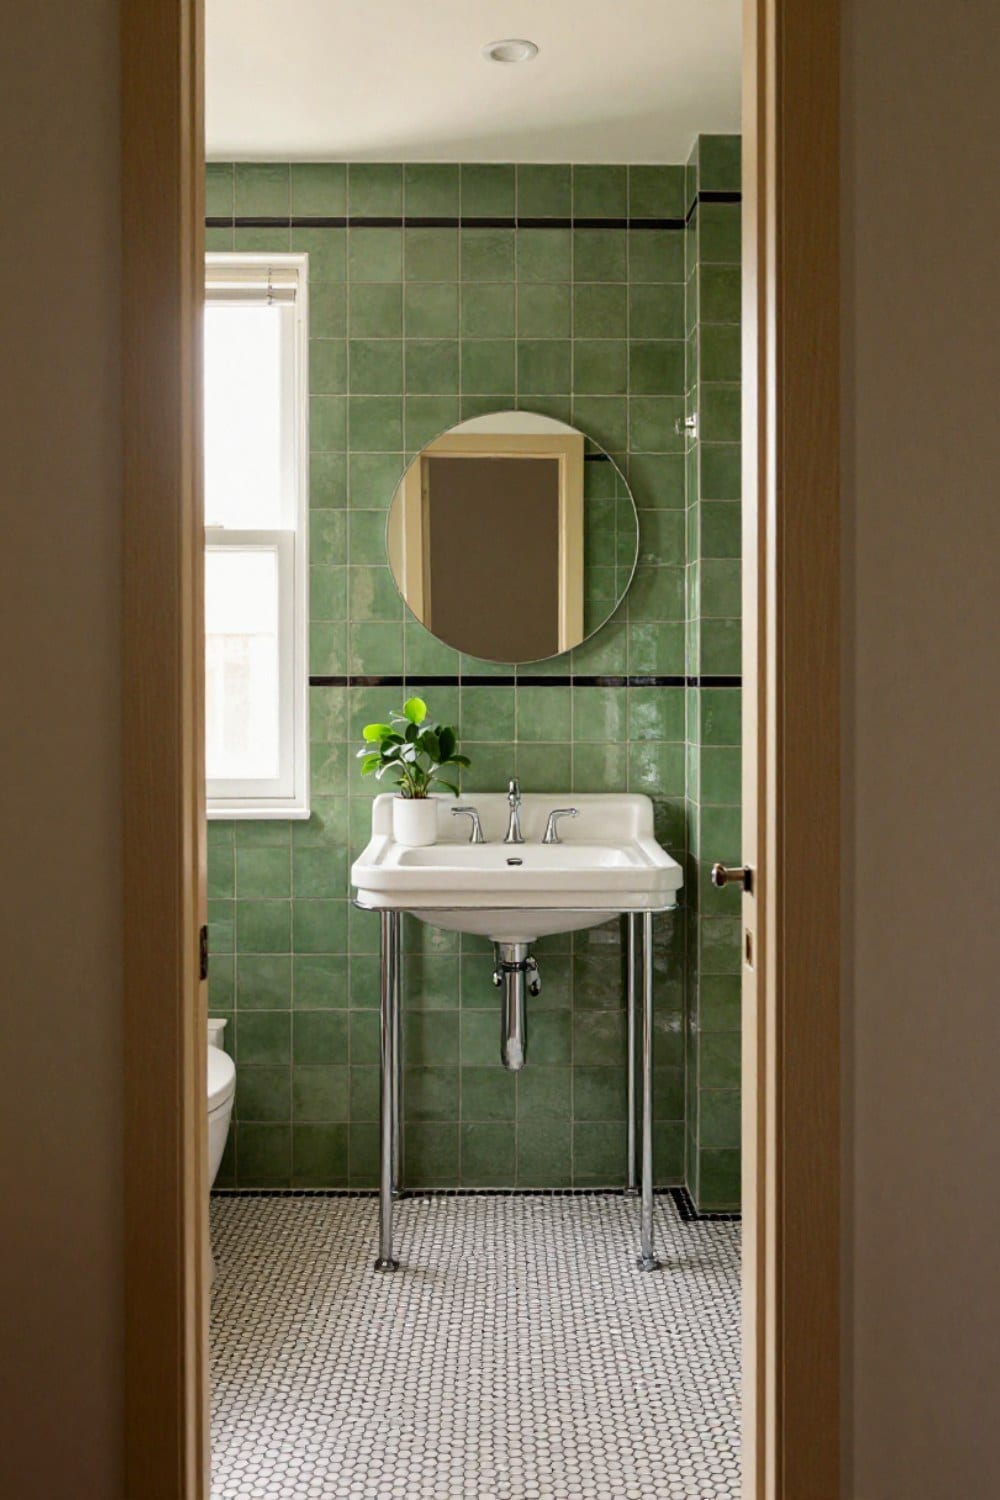
Art Deco Bathroom Ideas That Feel Classic, Not Costume
Art deco bathroom ideas scaled for a real house: the one-statement rule, black and white or green and black tile with a border, round mirrors, frosted sconces, a console sink on chrome legs, and the mistakes that make it look like a set.
Oct 31, 2026 · 11 min read
 Vintage Bathroom
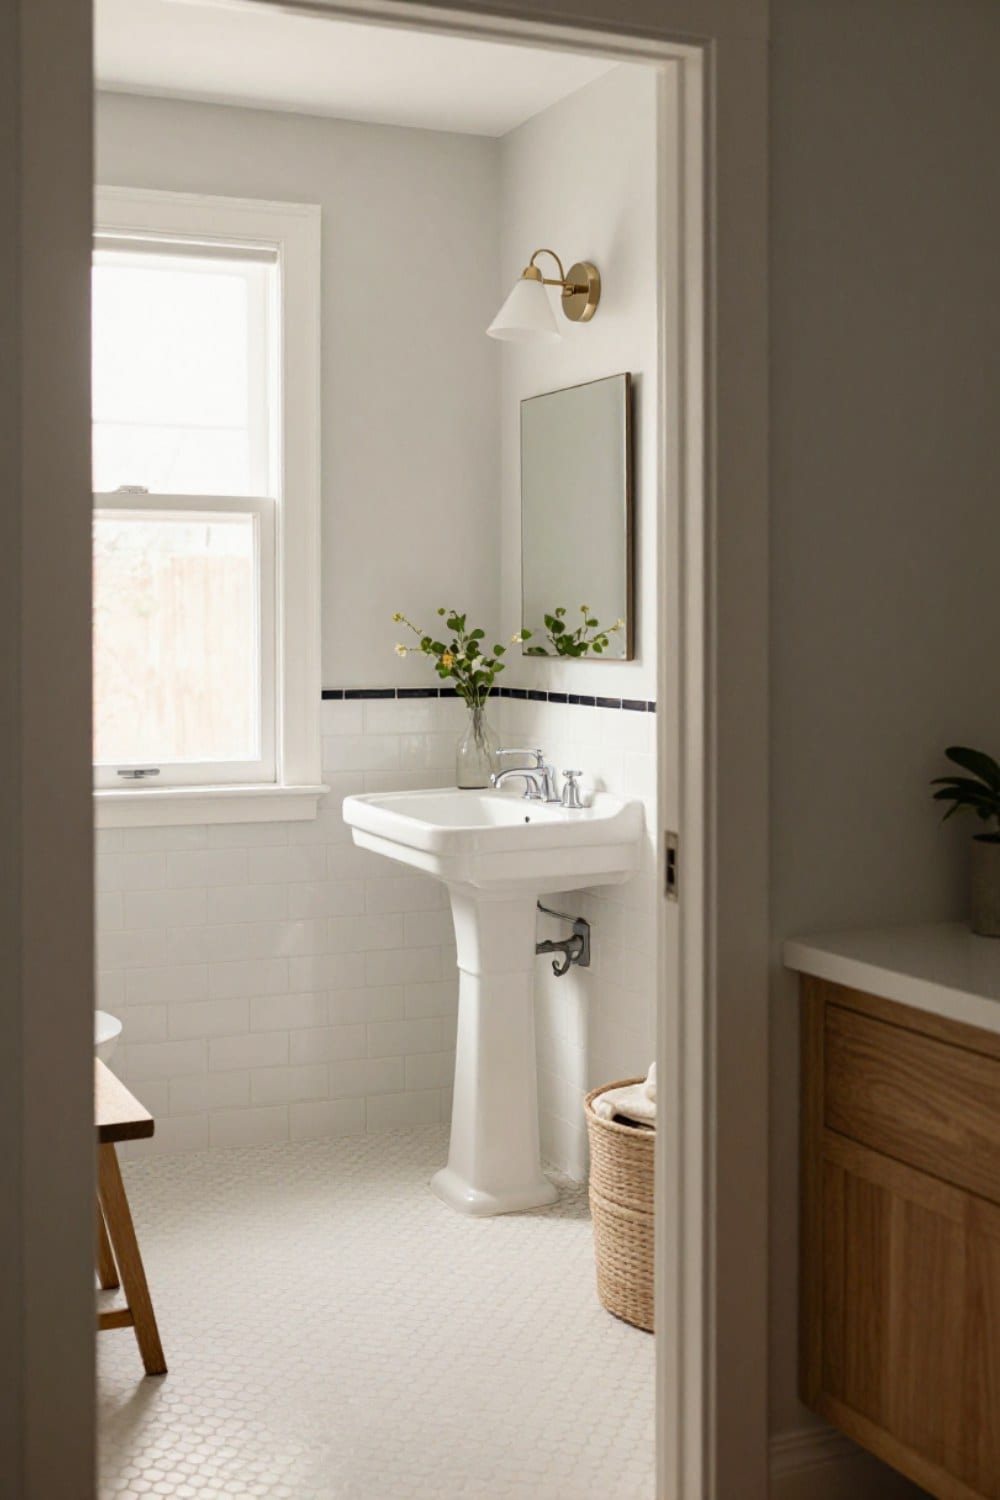
 Tile Ideas: The Patterns and Colors That Never Date
Vintage bathroom tile ideas that still look right decades on: the hex, penny, subway and checkerboard patterns, the glaze colors worth keeping, the grout rule that matters most, and how to decide between repair and reproduction.
Oct 29, 2026 · 12 min read