How to Clean Old Bathroom Tile Grout Without Damaging the Tile
How to clean old bathroom tile grout the gentle way: the hidden-spot test, the mild-to-strong order, what etches or scratches vintage glaze, and when to regrout, seal and recaulk instead.

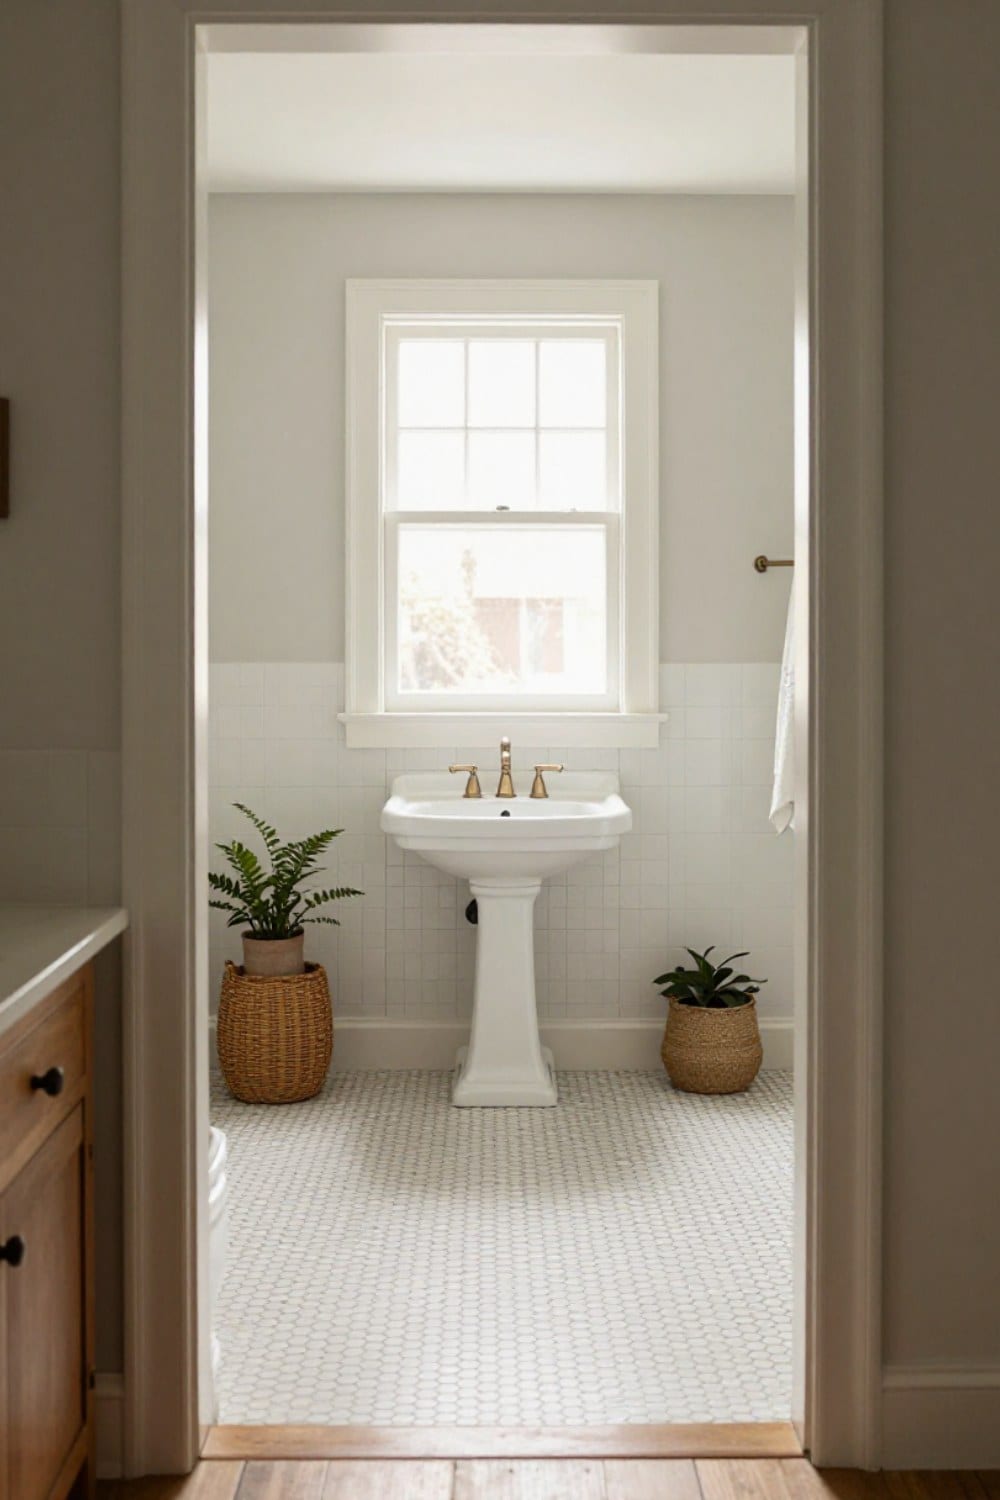
Knowing how to clean old bathroom tile grout is mostly knowing what to leave in the cupboard. The tile in an older house has lasted ninety years because nobody scoured it into the ground, and that same restraint is what makes it look new again.
I learned this on our first weekend in the house. I grabbed a gritty scouring powder, rubbed hard at a gray patch on the white hex floor by the tub, and felt very productive. The patch came clean. It also went dull, a cloudy matte square in a floor that was glossy everywhere else, and it is still there.
So this is the careful version. You'll get the test to run first, the cleaning order from gentlest to strongest, what never goes near vintage glaze, and what to do when the grout is worn out instead of dirty. If you're still deciding what to keep, the vintage bathroom tile ideas guide is the place to start.
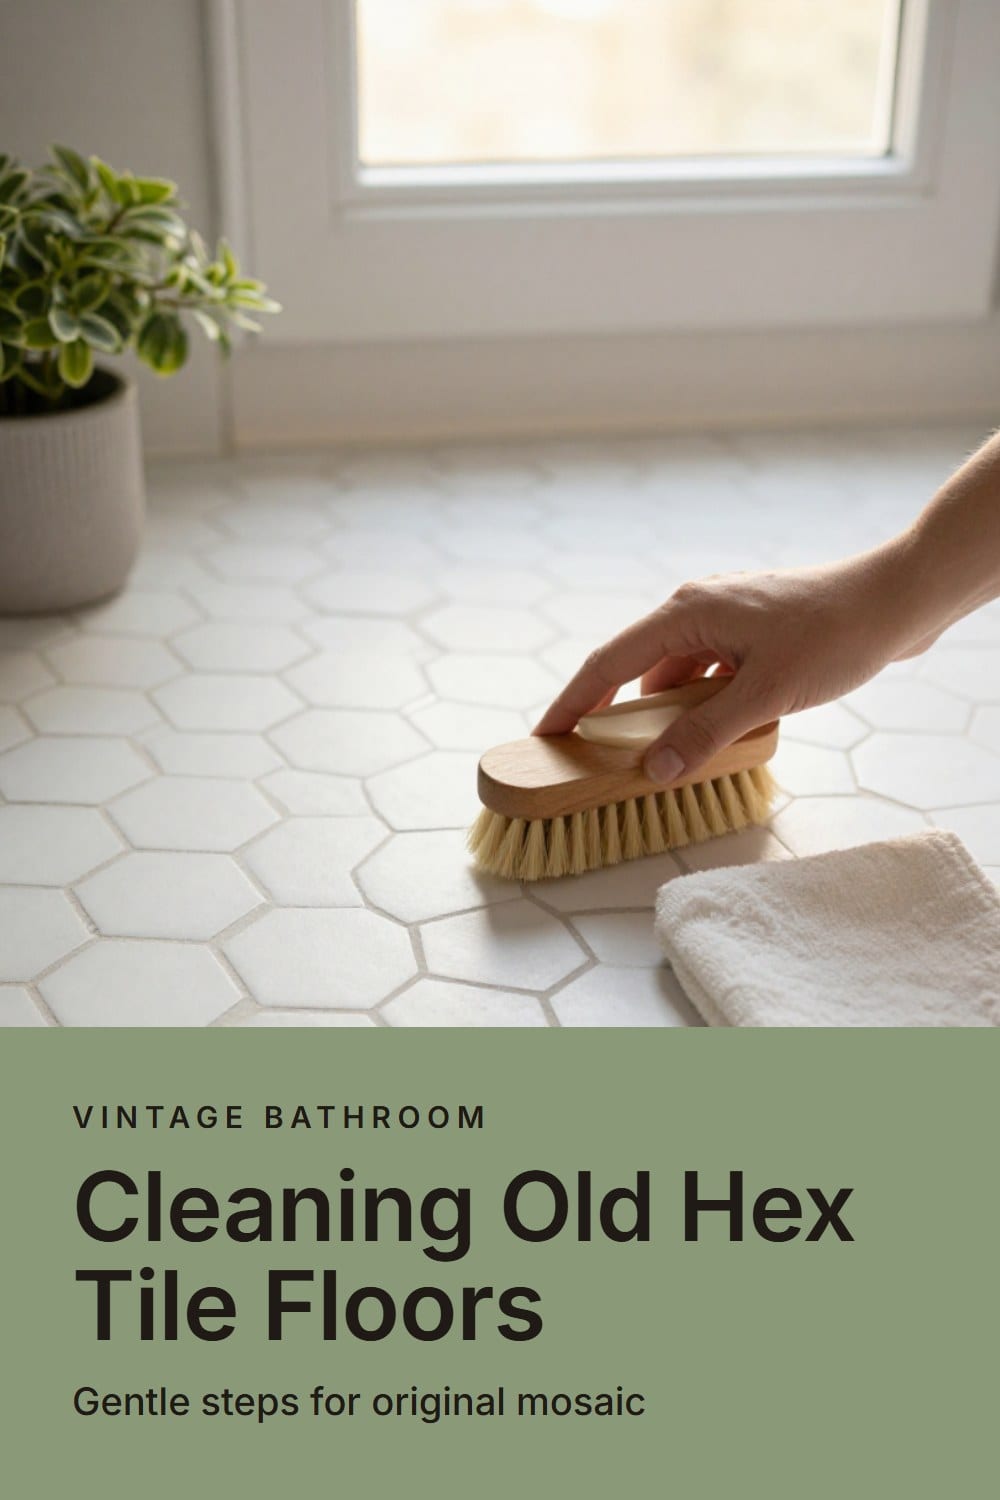
Test a hidden spot before you clean anything
Every product below gets tried somewhere nobody looks first. Behind the toilet, under the edge of the tub, inside the door swing. Apply it, wait ten minutes, rinse, dry the spot, and look at it in daylight.
You're checking for dulling, a color change in the grout, or a rough feel under your fingertip. Old glaze is thinner than it looks. Old grout may be tinted. And a lot of tile from the 1920s through the 1950s has crazing, a web of hairline cracks in the glaze that holds dirt and doesn't mean the tile is failing.
Crazed tile can be cleaned, just not scrubbed hard. Press gently and let the product do the work.
Know what you're actually cleaning
Four surfaces turn up in old bathrooms, and they don't tolerate the same things.
- Glazed ceramic wall and floor tile. Glossy, smooth and fairly forgiving of gentle cleaners, easily scratched by abrasives.
- Unglazed mosaic, like many 1 inch hex floors. The surface itself is porous, so it holds soil and can darken if harsh products get in.
- Marble and other natural stone, often as a threshold or a tub deck. Acid etches it on contact.
- Cement-based grout. Gray or white, sand-colored with age, and porous. It stains first and takes the most abuse from cleaning.
If you're not sure which you have, assume the more delicate one. The hexagon and penny tile guide explains how the small mosaics are built, and retro bathroom styles helps you date a room by its tile.
How to clean old bathroom tile grout, gentlest method first
Here's the order I use in my own bathroom. Stop the moment the tile and grout look right. Most rooms never need the last two steps.
Clear the room and open a window
Wash with warm water and a pH-neutral cleaner
Rub the lines with baking soda paste
Soak stubborn lines with oxygen bleach

Use a stiff nylon brush, never wire
Steam, carefully, and only if the tile is sound
What never goes on vintage tile
This is the list I wish someone had handed me before that first weekend.
- Vinegar, lemon and acidic tub-and-tile cleaners on marble, limestone or cement grout. Acid etches stone and eats away at the grout's surface.
- Scouring powder and abrasive pads on glaze. They leave a dull, scratched film that no polish brings back.
- Wire brushes and steel wool. They scratch glaze, and the tiny steel fragments that stay behind can rust.
- Chlorine bleach on colored or old grout, or mixed with any other cleaner. It can lighten the grout unevenly and the fumes are a real hazard.
- Hard steam or pressure on loose tile or cracked lines, where it drives water behind the tile.
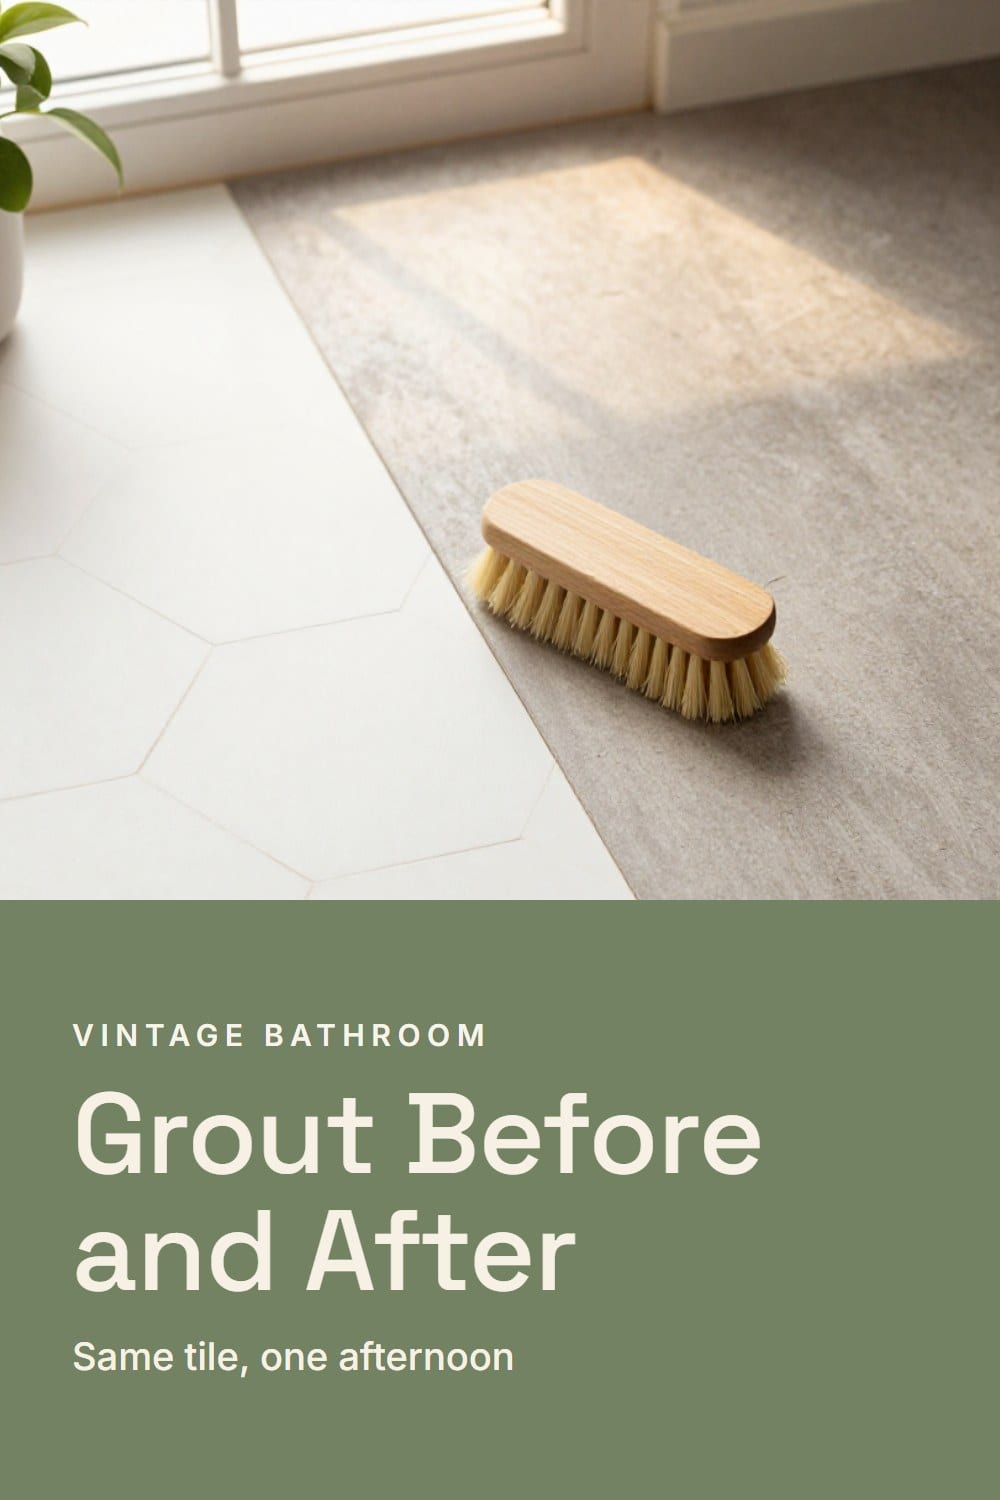
When grout is worn out, not just dirty
Cleaning fixes stains. It can't fix grout that's gone. Press a fingernail or the tip of a screwdriver into a few lines. If it's hard, it's dirty. If it crumbles, sands out or leaves a gap, it's worn.
Also press on a few tiles. Any that rock or sound hollow when you tap them need attention before anything else, because water is getting in behind them.
Regrouting only the bad sections is perfectly good practice, and it keeps the rest of the floor original. Rake out the old grout with a hand grout saw, working slowly and holding the blade square so it doesn't chew the glazed edge. Take out at least two thirds of the depth of the line, wear a respirator-style dust mask, and vacuum the dust as you go.
Old lines are narrow, so pick unsanded grout for anything narrower than 1/8 inch and sanded for wider ones. Match the color to the grout you're keeping, not to a bright white sample card. A fresh white line beside glaze that has aged for ninety years looks like a dental office. A warm gray or warm white is closer to what it was.
Wipe the haze off the tile with a damp sponge once the grout has set up, and keep the area dry for the cure time on the package, usually a couple of days.

Seal cement grout once it's clean and dry
Cement-based grout is porous, which is why it drinks up shampoo and soap film. A penetrating sealer fills those pores from inside without leaving a coating on top. It won't make grout stain-proof. It just buys you time to wipe a spill.
Wait until the grout is completely dry, at least a day after cleaning, and for new grout follow the cure time on the package, commonly 48 to 72 hours. Brush or wipe the sealer onto the lines with a small applicator, and wipe any excess off the tile within a few minutes. Sealer left on glaze dries to a haze that's a nuisance to remove.
To check whether it's still working, drop a little water on a grout line. If it beads, you're good. If the line darkens within a minute, it's time to reseal. In a shower that's usually once a year, and elsewhere in the room every couple of years.
Remove old caulk and recaulk the joints
Grout doesn't belong where tile meets the tub, the corners, or the floor-to-wall joint. Those joints move a little, and rigid grout cracks there. They want flexible caulk, and old caulk gets black spots that grow from underneath. Once mildew is inside the bead, no cleaner reaches it.
Replacing it is a morning's job and the single biggest visual lift on this list. Here's how I do it.
- Slice along both edges of the old bead with a utility knife, or use a caulk removal tool, then peel and scrape it out.
- Wipe the joint with rubbing alcohol and let it dry fully, ideally overnight.
- Run painter's tape along both sides to keep the line crisp.
- Lay a bead of 100 percent silicone sold for kitchen and bath, cut the tip small at an angle, then smooth it with a wet fingertip or the back of a spoon.
- Pull the tape right away while the silicone is wet, and keep the joint dry for 24 hours.
One trick from the old-house crowd: with a lightweight steel or acrylic tub, fill it with water before you caulk, so the joint is at its widest when you seal it. Cast iron moves very little, so you can usually skip this.
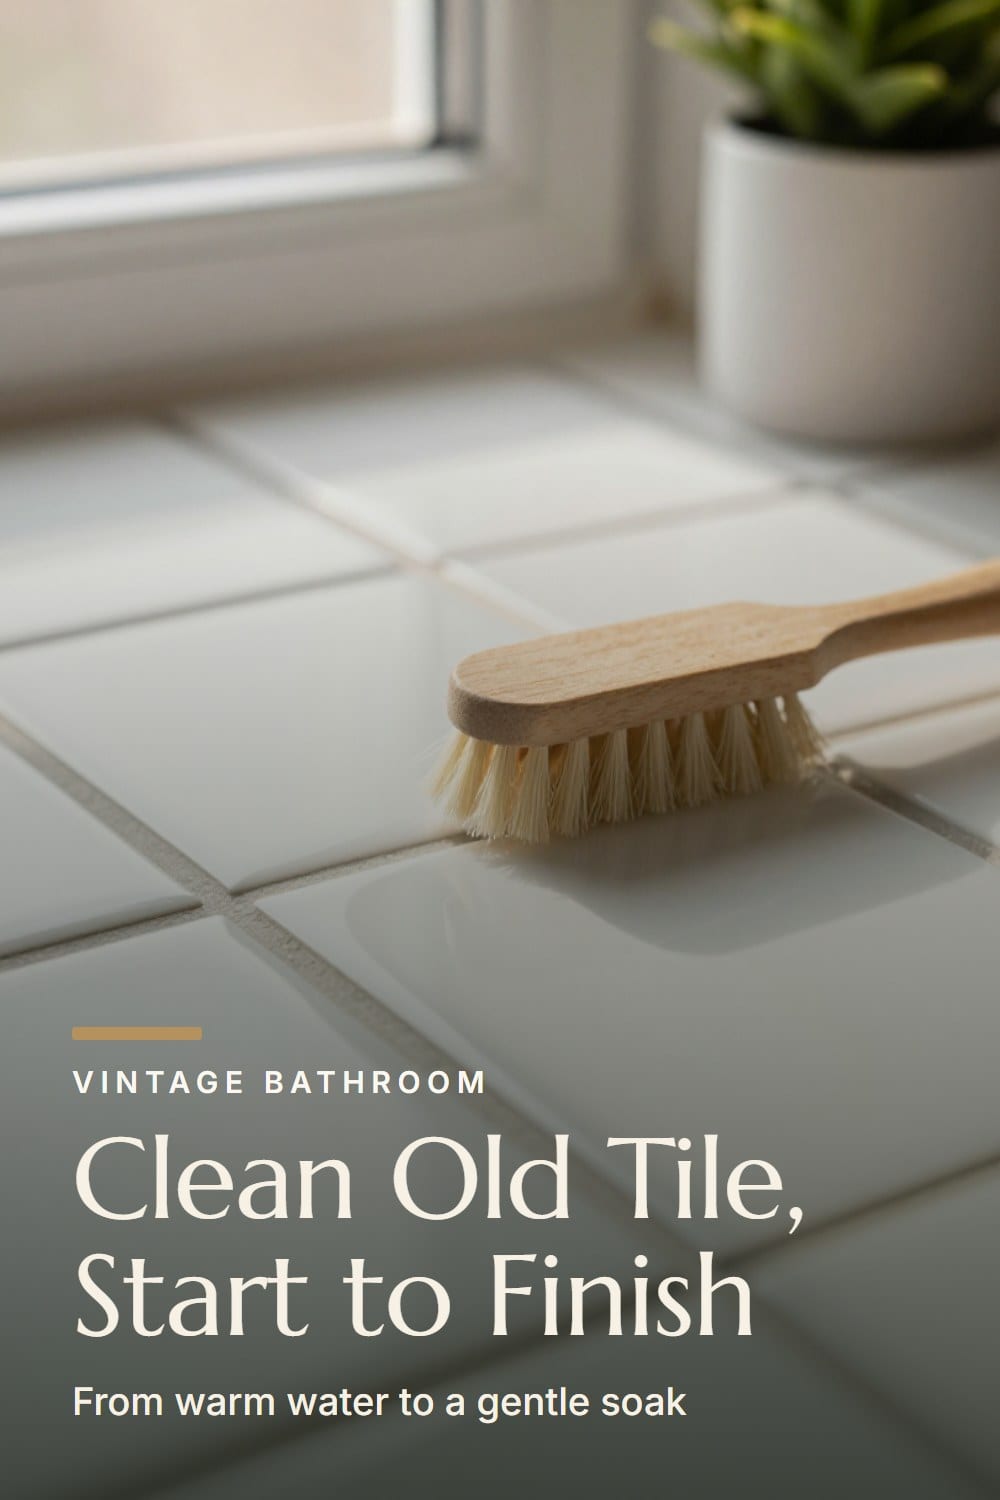
A cleaning rhythm that keeps old tile looking new
The work above is a reset. Keeping it is easier, and a lot of it is about moisture rather than elbow grease.
Run the fan during every shower and for about 20 minutes after. Squeegee or towel the walls if you remember. Once a week, wipe the tile and lines with warm water and the pH-neutral cleaner. Twice a year, give the grout lines the baking soda treatment. Reach for the oxygen bleach soak only when the lines have clearly darkened.
That's the whole routine. It takes about ten minutes a week and it means the big scrub becomes a rare event.
For ideas on where to take the room next, vintage bathroom ideas is the full guide. If your floor has a pattern, checkerboard bathroom floor ideas and black and white tile bathroom cover how to style it once it's clean, and how to decorate a pink tile bathroom does the same for pastel glaze.
The Old Tile Care Sheet
The printable is being finished. It will live here, free, with no sign-up wall.
Questions about cleaning old tile and grout
Frequently asked
Can I use vinegar to clean old bathroom grout?
Is it safe to steam clean vintage tile?
How long should I wait before showering after regrouting or recaulking?
How often should I reseal old grout?
Sarah Whitmore
she keeps the teak, she oils it in spring
Sarah has furnished the same porch three times and finally stopped. She writes about what actually survives a decade outdoors — which wood silvers, which fabric fades, and which inexpensive piece quietly reads the same as the expensive one.
SarahMore from this corner
 Vintage Bathroom
Mid Century Bathroom Ideas for a House Built in the 1950s and 60s
Mid century bathroom ideas for a ranch or split-level: the floating vanity, square and penny tile, globe lights, a wide mirror, and which original features to keep and update around.
Oct 31, 2026 · 12 min read
 Vintage Bathroom
Art Deco Bathroom Ideas That Feel Classic, Not Costume
Art deco bathroom ideas scaled for a real house: the one-statement rule, black and white or green and black tile with a border, round mirrors, frosted sconces, a console sink on chrome legs, and the mistakes that make it look like a set.
Oct 31, 2026 · 11 min read
 Vintage Bathroom
 Tile Ideas: The Patterns and Colors That Never Date
Vintage bathroom tile ideas that still look right decades on: the hex, penny, subway and checkerboard patterns, the glaze colors worth keeping, the grout rule that matters most, and how to decide between repair and reproduction.
Oct 29, 2026 · 12 min read