Checkerboard Bathroom Floor Ideas: Tile Size, Color and Layout
A checkerboard bathroom floor looks right in a 1928 bungalow and a new build, if you get four things right: the colors, the tile size, straight versus diagonal, and where the first tile goes.

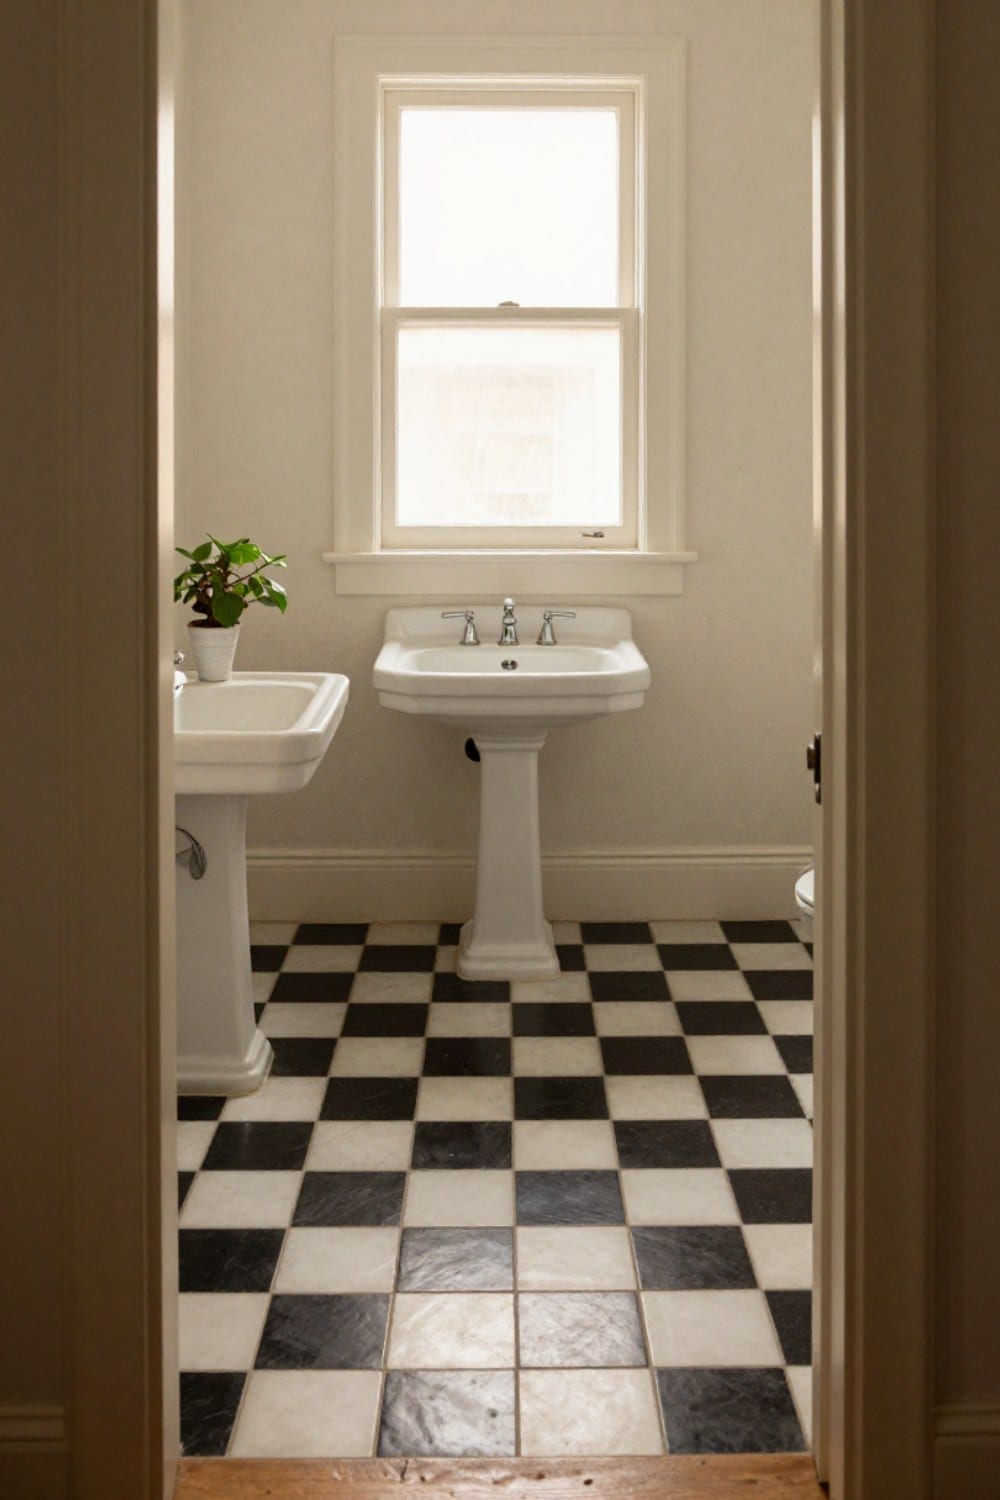
A checkerboard bathroom floor is one of the few choices that looks right in a 1928 bungalow and in a house built last year. That's why it keeps turning up on your saved boards. It's also easy to get wrong, in ways nobody warns you about until the tile is down.
I know because I got ours wrong. When we replaced the sheet vinyl in our upstairs bath, I fell for a photo of tiny 4 inch squares. The room is 5 by 8 feet. That's fifteen squares across, and walking in felt like stepping onto a chessboard. The pattern wasn't the problem. The size was, and then the grout, and then where I started laying it. We lived with it for a year and redid it. I'd rather you skip that part.
This guide goes through the choices in the order you'll actually make them: color, tile size, straight or diagonal, material, and where the first tile goes. If you're still deciding whether checkerboard is your pattern at all, start with vintage bathroom tile ideas and come back.
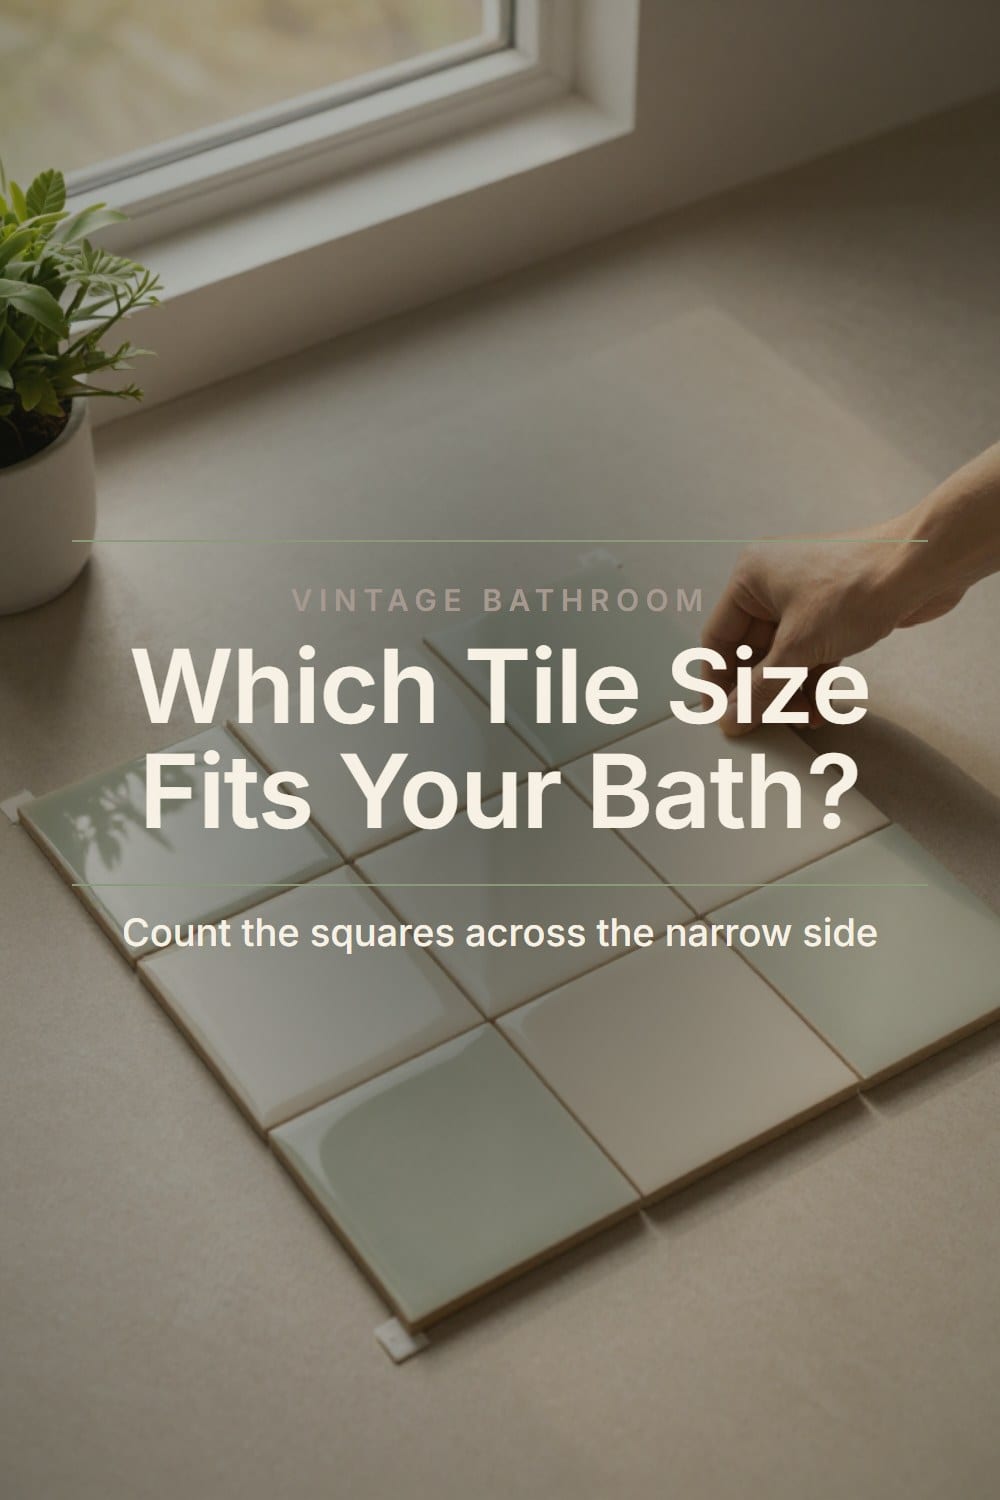
Why a checkerboard bathroom floor keeps coming back
Checkerboard is geometry, not a trend color. That's the whole reason it lasts. The same grid shows up in black and white in the 1920s and 30s, in pastel in the 1950s, and in sage and cream in new houses now. The pattern stays put. The colors tell you the decade.
Which means you get to choose the era. Black and white with nickel fittings says 1930s. Cream and sage says right now, with a nod to the 1940s. If you'd like the decade-by-decade story, retro bathroom styles lays it out from the 1920s to the 1960s.
Classic black and white or something softer
Black and white is the classic for a reason. The contrast is crisp, glossy white fixtures sit on it beautifully, and polished nickel looks right against it. It's also the loudest version. In a bath with a small window or a lot of other pattern, it gets busy fast, and it shows everything: dark hairs on the white squares, lint on the black ones. If you go this way, how to decorate a black and white tile bathroom so it feels warm covers the rest of the room.
The softer versions drop the contrast on purpose. These are the four I'd look at first.
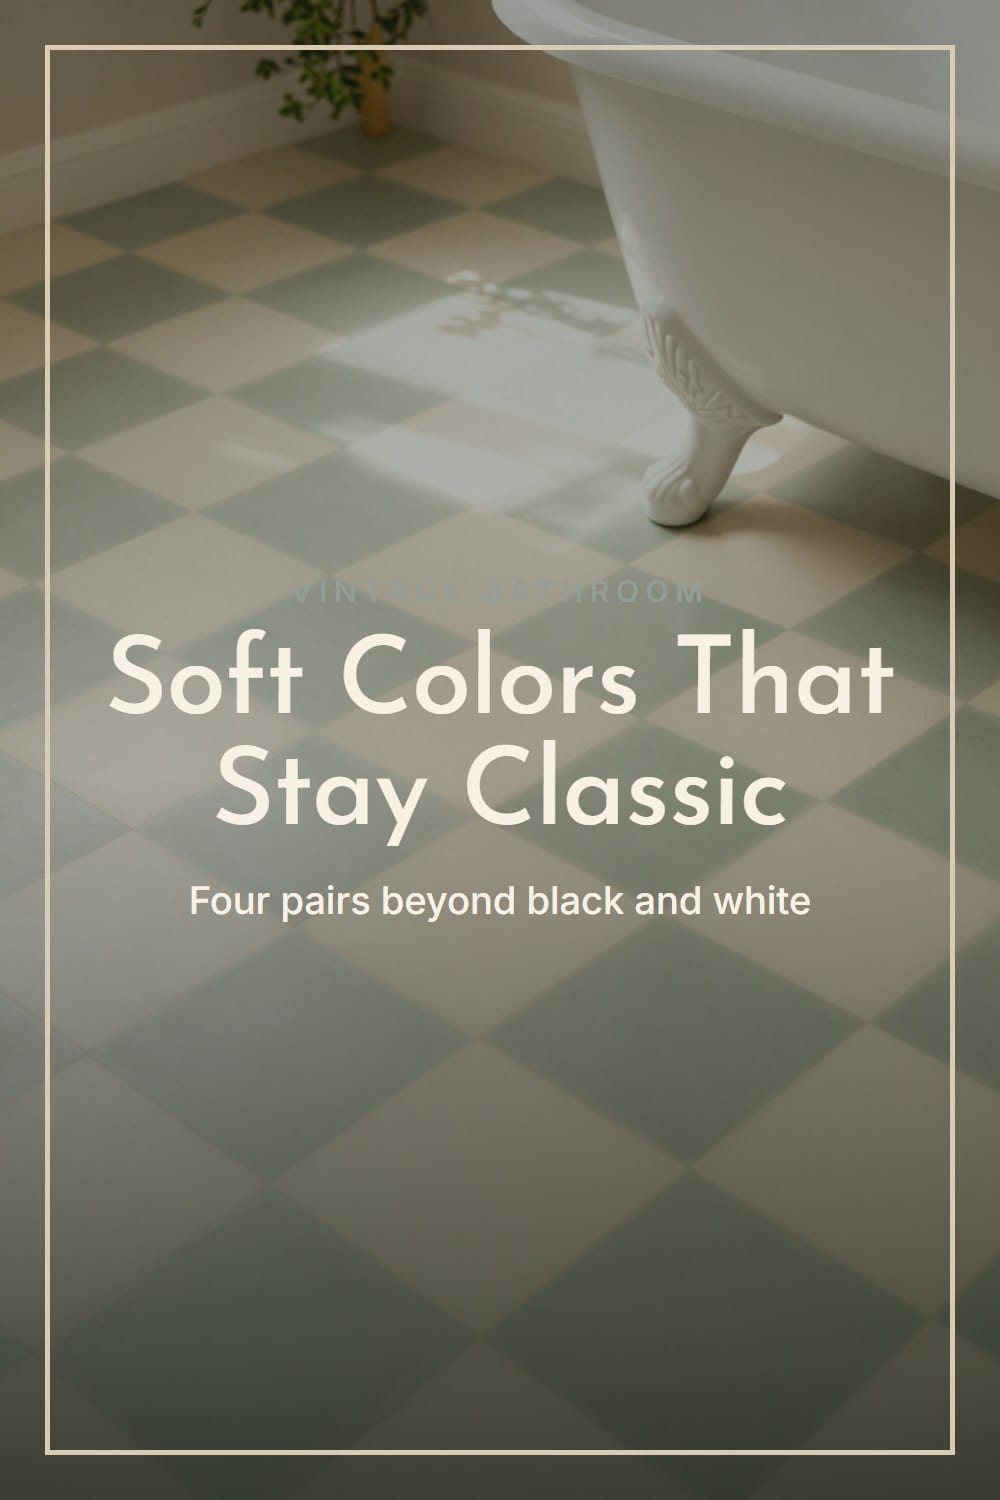
- Cream and sage. My favorite right now. Both colors lean warm, so the floor feels like old paint and not like a game board.
- Cream and taupe. The quietest of the lot. From the doorway it reads as texture first and pattern second.
- Terracotta and cream. Warm, earthy and good with brass. It wants a plain wall, since the floor is already doing plenty.
- Green and white. A deep bottle green with a soft white is the closest cousin to the classic, with more color in it. Green tile bathroom ideas goes through the shades.
Whichever pair you choose, put the two sample squares side by side in the room's real light before you order. A cream that looks soft on a screen can turn yellow beside a stark white. Hold them by the window in the morning, at noon and again at dusk.
If the walls are already pink tile, don't fight it. How to decorate a pink tile bathroom shows what belongs beside it.
What size tile for a checkerboard floor
Size is where most floors go wrong, and it's the one thing you can't change afterward. My rule is to count the squares across the narrowest side of the room. Five to nine feels right. Fewer than five looks bold and a little blocky. More than nine and you've built a chessboard.
In practice that gives you three sizes.
- 12 inch squares for most full baths. A room 5 feet wide gets five squares across. Big enough to read as a pattern from the doorway, small enough to still feel like tile.
- 8 inch squares when the room is closer to 4 feet wide, or when you want a slightly more traditional, closer-set look.
- 6 inch squares for a powder room. A room 3 by 5 feet gets six squares across and looks proportioned instead of cramped.
Go bigger than 12 inch and you start to lose the old-house look. Go smaller than 6 and the grout lines take over. On my 4 inch floor they multiplied until they were all I saw.
For a period look, keep the joints narrow, about 1/16 to 1/8 inch. That works best with rectified tile, whose edges are cut square after firing. And if a square grid feels too stiff for your room, hexagon versus penny tile is the other floor I'd compare it with.
Straight or diagonal, and which fits your room
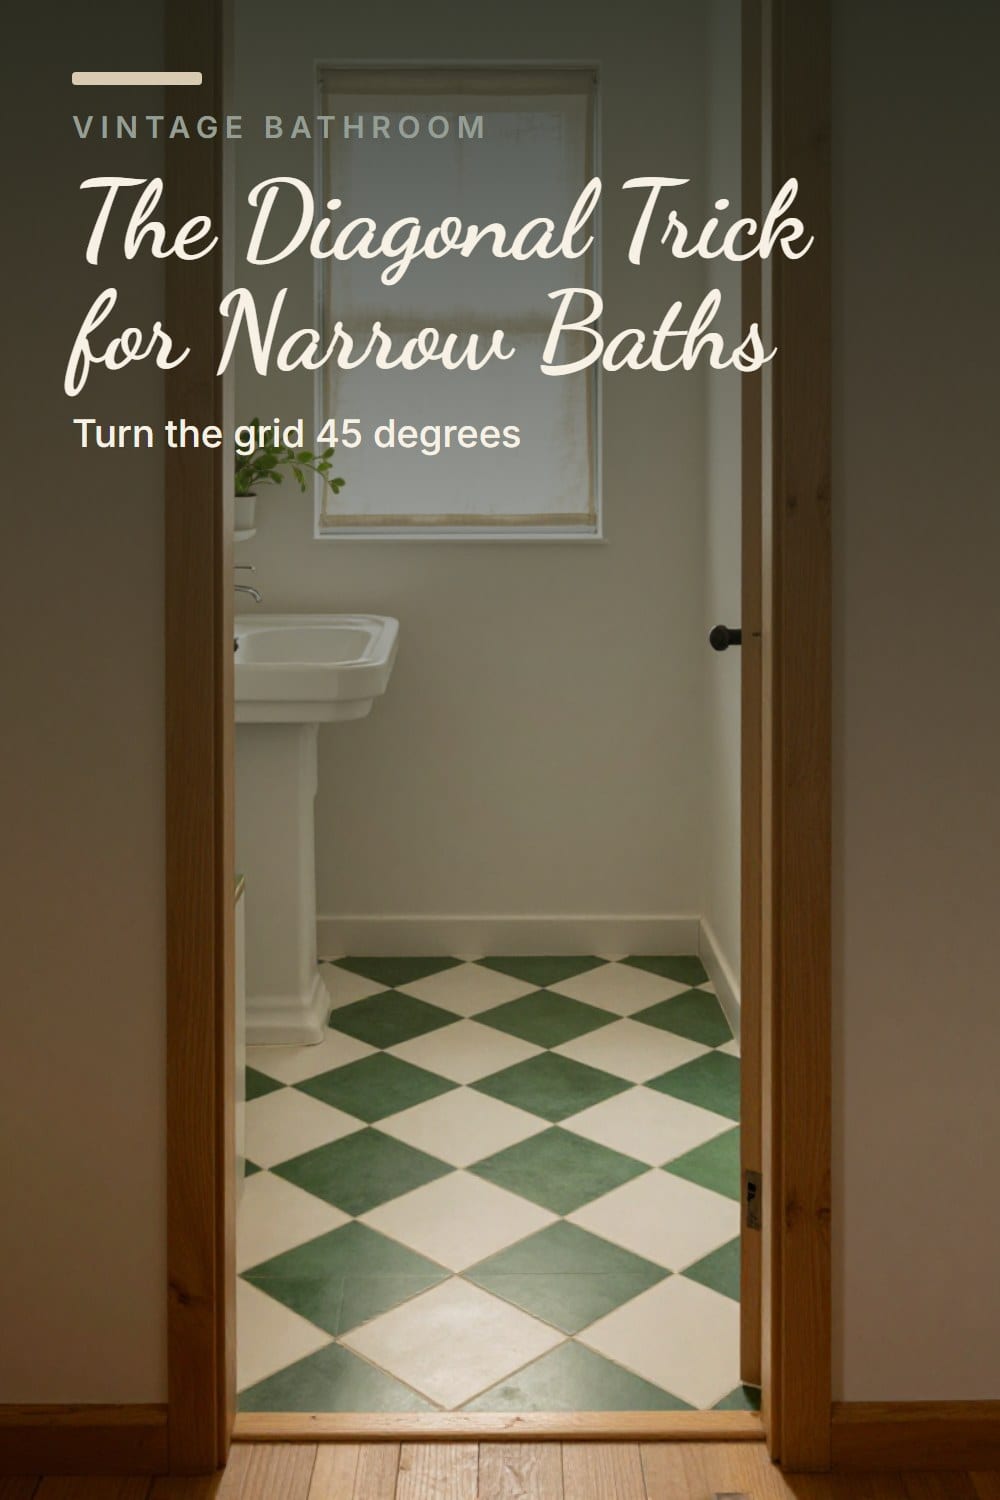
Straight means the squares line up with the walls. Diagonal, also called on point, turns the whole grid 45 degrees.
Straight is calm and traditional. It's what you see in most old photographs. Its one weakness is that every line runs parallel to a wall, so if the walls aren't square, you'll see it. Old houses are rarely square.
Diagonal pulls the eye across the room instead of down it. In a long, narrow bath that makes the floor feel wider, and the angled lines hide walls that wander. The trade-off is cutting. Every edge ends in half squares and triangles, so you order about 15 percent extra tile where a straight layout needs about 10.
Not every tile setter has laid a diagonal checkerboard. Ask to see a photo of the corners of one they've done. The corners are where it shows.
Marble, ceramic, porcelain or cement
From the doorway, all four look much the same. The difference shows up in year three.
Marble
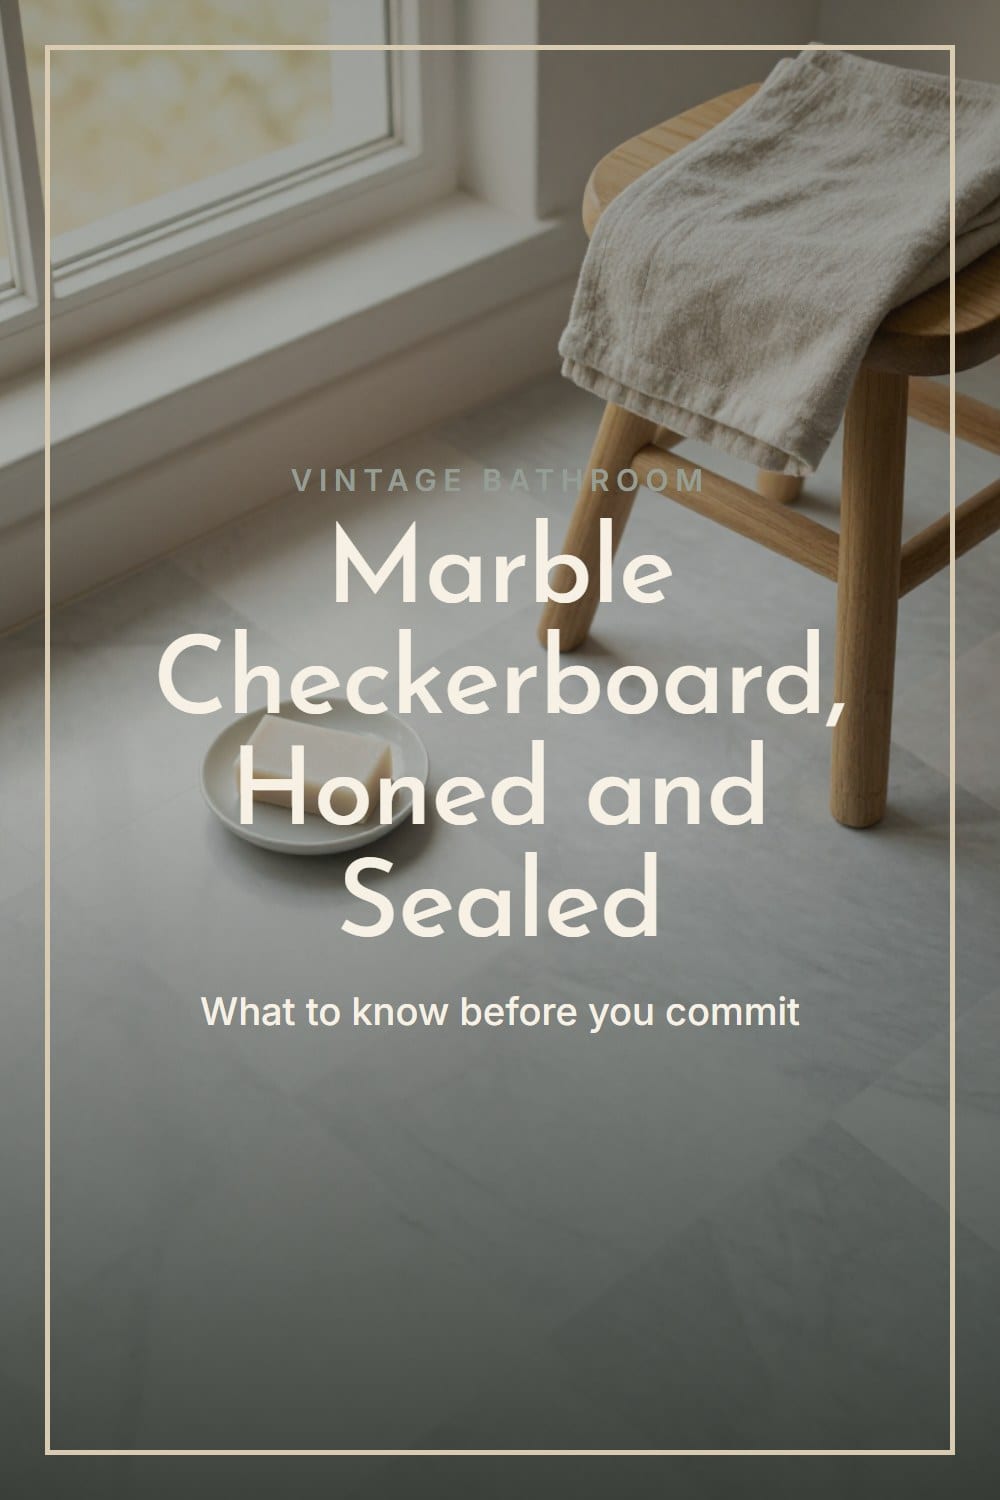
Marble is the beauty and the one that asks for care. It's softer than the other three, it etches from anything acidic (vinegar, citrus, many bathroom cleaners), and it needs sealing, then resealing about once a year. I once put a drop of lemon juice on a spare sample square just to see. It had dulled within a minute.
Choose honed over polished for a floor. Honed is matte, grips better and hides tiny etches. Polished looks glorious and goes slick when wet.
Ceramic
Glazed ceramic is the traditional choice and the easiest to find in soft, old-looking colors. The body is softer than porcelain, so check that the box says it's rated for floors, not just walls.
Porcelain
Porcelain is dense, barely absorbs water and chips less. It's the forgiving choice for a busy family bath, and once it's grouted, good porcelain checkerboard is hard to tell from ceramic. Choose a matte or satin finish over high gloss for the floor.
Cement tile
Cement tile is handmade and matte, with a slightly uneven surface that suits old houses. It's porous, so it has to be sealed before and after grouting, and it develops a patina. If you like a floor that ages, it's wonderful. If you want it to stay exactly as it arrived, choose porcelain.
Whatever you choose, ask about slip resistance. On the spec sheet, look for the DCOF rating. A figure of 0.42 or higher is the one commonly used for interior floors that get wet. Glossy squares under wet bare feet are the risky combination.
Where to start so the cuts land evenly
This is what separates a floor that looks designed from one that looks installed. The goal is simple: no skinny slivers at the walls, and the same size of cut on both sides.
Before any thinset goes down, dry lay a row of loose tiles along both center lines of the room, with spacers between them. See where the edge tiles land. If one side ends in a sliver narrower than about a third of a tile, slide the whole layout half a tile over. The cuts then come out at least half a tile wide on each side, and they match.
Then think about the doorway, because that's what you see first. I'd rather have full, uncut squares at the threshold and let the cuts hide under the vanity, behind the door and along the tub.
I watched a friend's setter start from one corner once. By the tub, a tapering sliver of black tile ran along the wall like a stripe.
Check what's under the old floor first
A checkerboard floor is only as good as what it sits on. A wood subfloor flexes, and tile and grout crack when the floor moves. Ask your installer for cement backer board or an uncoupling membrane over the wood, and a subfloor flat to within about 1/4 inch over 10 feet.
What goes on the walls and around the floor
A checkerboard floor is the pattern. Let it be the only one. The walls should be calm: a warm white, or a soft color family that picks up one of the floor's two colors. For the colors that sit well beside old tile, vintage bathroom paint colors that work with old tile is where I'd go next. Eggshell or satin holds up in steam, as long as you run the fan during a shower and for about 20 minutes after.
Wainscot helps. Tile or painted beadboard 36 to 42 inches high gives the floor a frame to sit inside. A white pedestal sink and a plain nickel faucet on top of a pattern floor look expected, in the best way. For a 1920s direction, see 1920s bathroom ideas. For a softer, pastel one, try 1950s bathroom ideas.
Keep the soft things solid. Folded linen towels, a plain cotton bath mat, a curtain in one color. I tried a striped runner on our first floor and the room hummed with the effort of it. And use warm 2700K bulbs: they keep cream squares creamy at night, where cooler bulbs turn them gray.
Fixing a checkerboard floor that looks busy
If you already have the floor and it feels like a lot, don't rip it out yet. Most busy floors can be calmed in a weekend.
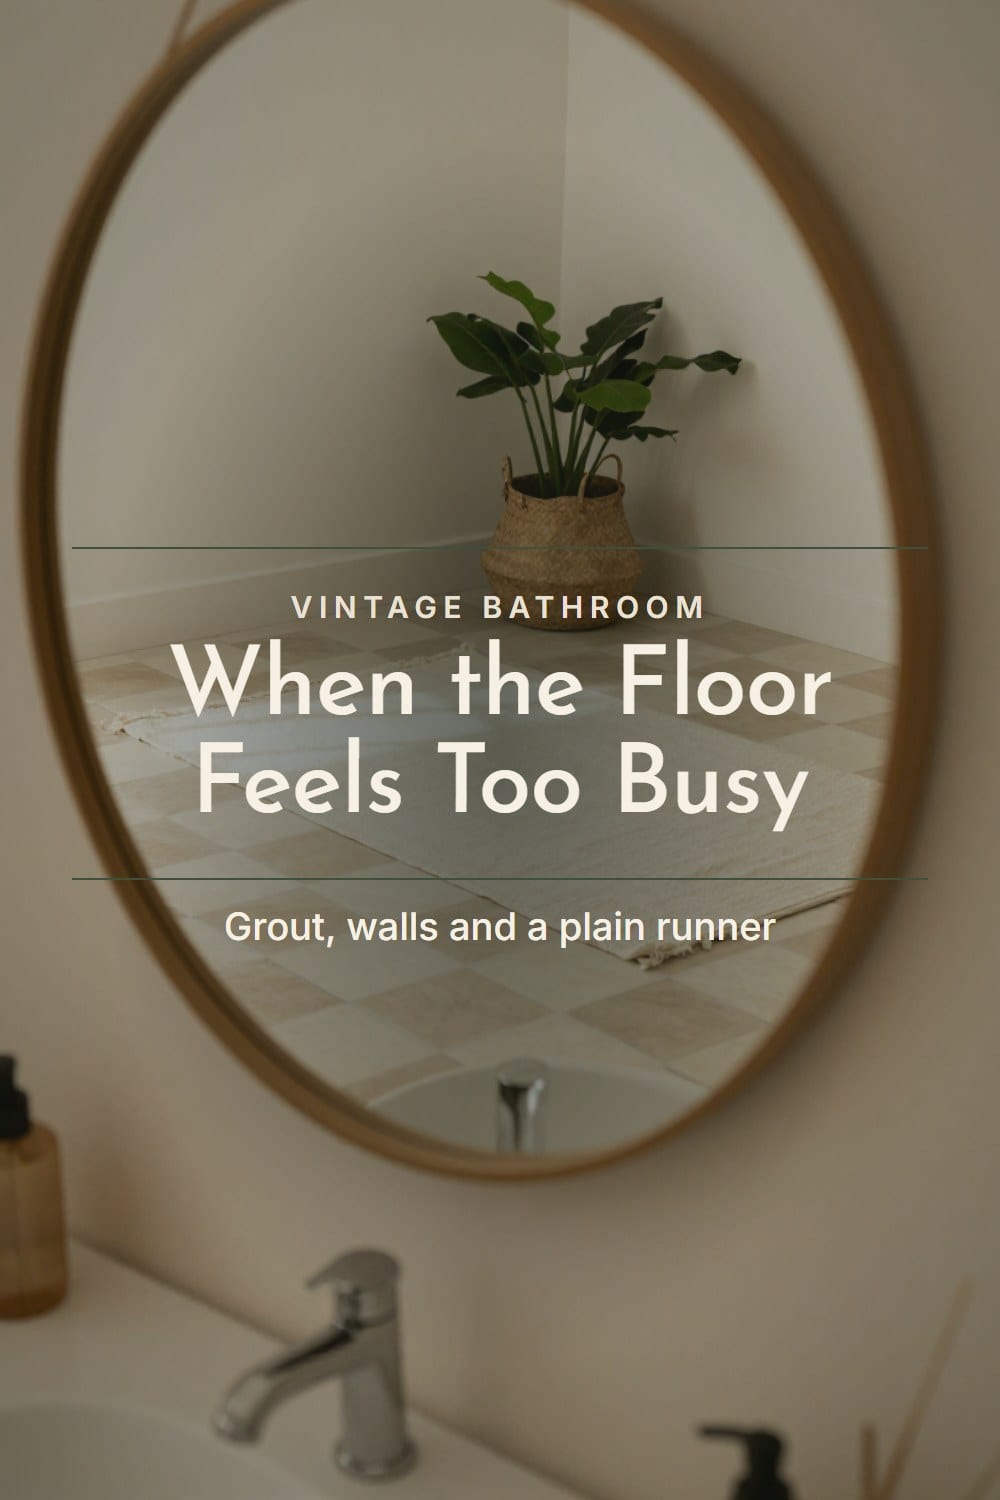
- Change the grout. White grout around black squares draws a grid over everything. Rake it out and regrout in a mid-tone warm gray, and the lines recede.
- Quiet the walls. Take down competing pattern and paint the walls one warm solid color.
- Break up the grid where you stand. A plain, washable cotton runner in a color from the floor interrupts the pattern right where the eye lands.
Five mistakes to skip
- Tile that's too small for the room. If you can count more than nine squares across, go up a size.
- Stark black and white in a dim, north-facing bath. It reads heavy and a little cold. Soften the pair.
- Polished marble where the floor gets wet, or any marble that isn't sealed.
- Starting from a corner instead of the center, which leaves a sliver at the far wall.
- Skipping the dry lay. It takes 20 minutes and it's the most useful step on the list.
A checklist before you order tile
- Measure the narrow side of the room and count squares: five to nine.
- Choose a color pair and look at the samples by a window at three times of day.
- Decide straight or diagonal, and ask the setter if they've done a diagonal.
- Choose the material for year three: honed and sealed marble, or porcelain.
- Check slip resistance, and keep the finish matte or satin.
- Plan a mid-tone grout and joints of 1/16 to 1/8 inch.
- Dry lay along both center lines before any thinset goes down.
If you only do one thing on this list, dry lay it. Twenty minutes with loose tiles on the floor will tell you more than any photograph. Buy fewer, better squares and keep the floor for decades. For the rest of the room, vintage bathroom ideas is the complete guide.
The Checkerboard Floor Layout Sheet
The printable is being finished. It will live here, free, with no sign-up wall.
Frequently asked
What size tile is best for a checkerboard bathroom floor?
Does a diagonal checkerboard floor make a bathroom look bigger?
Is a checkerboard marble floor practical in a bathroom?
Where should I start laying a checkerboard floor?
Sarah Whitmore
she keeps the teak, she oils it in spring
Sarah has furnished the same porch three times and finally stopped. She writes about what actually survives a decade outdoors — which wood silvers, which fabric fades, and which inexpensive piece quietly reads the same as the expensive one.
SarahMore from this corner
 Vintage Bathroom
Mid Century Bathroom Ideas for a House Built in the 1950s and 60s
Mid century bathroom ideas for a ranch or split-level: the floating vanity, square and penny tile, globe lights, a wide mirror, and which original features to keep and update around.
Oct 31, 2026 · 12 min read
 Vintage Bathroom
Art Deco Bathroom Ideas That Feel Classic, Not Costume
Art deco bathroom ideas scaled for a real house: the one-statement rule, black and white or green and black tile with a border, round mirrors, frosted sconces, a console sink on chrome legs, and the mistakes that make it look like a set.
Oct 31, 2026 · 11 min read
 Vintage Bathroom
 Tile Ideas: The Patterns and Colors That Never Date
Vintage bathroom tile ideas that still look right decades on: the hex, penny, subway and checkerboard patterns, the glaze colors worth keeping, the grout rule that matters most, and how to decide between repair and reproduction.
Oct 29, 2026 · 12 min read