Vintage Bathroom Vanity Ideas: Converted Dressers, Washstands and Console Sinks
Vintage bathroom vanity ideas with real old-house character: how to convert an antique dresser, when a washstand or console sink fits better, how to seal wood against water, and the heights and depths that work.

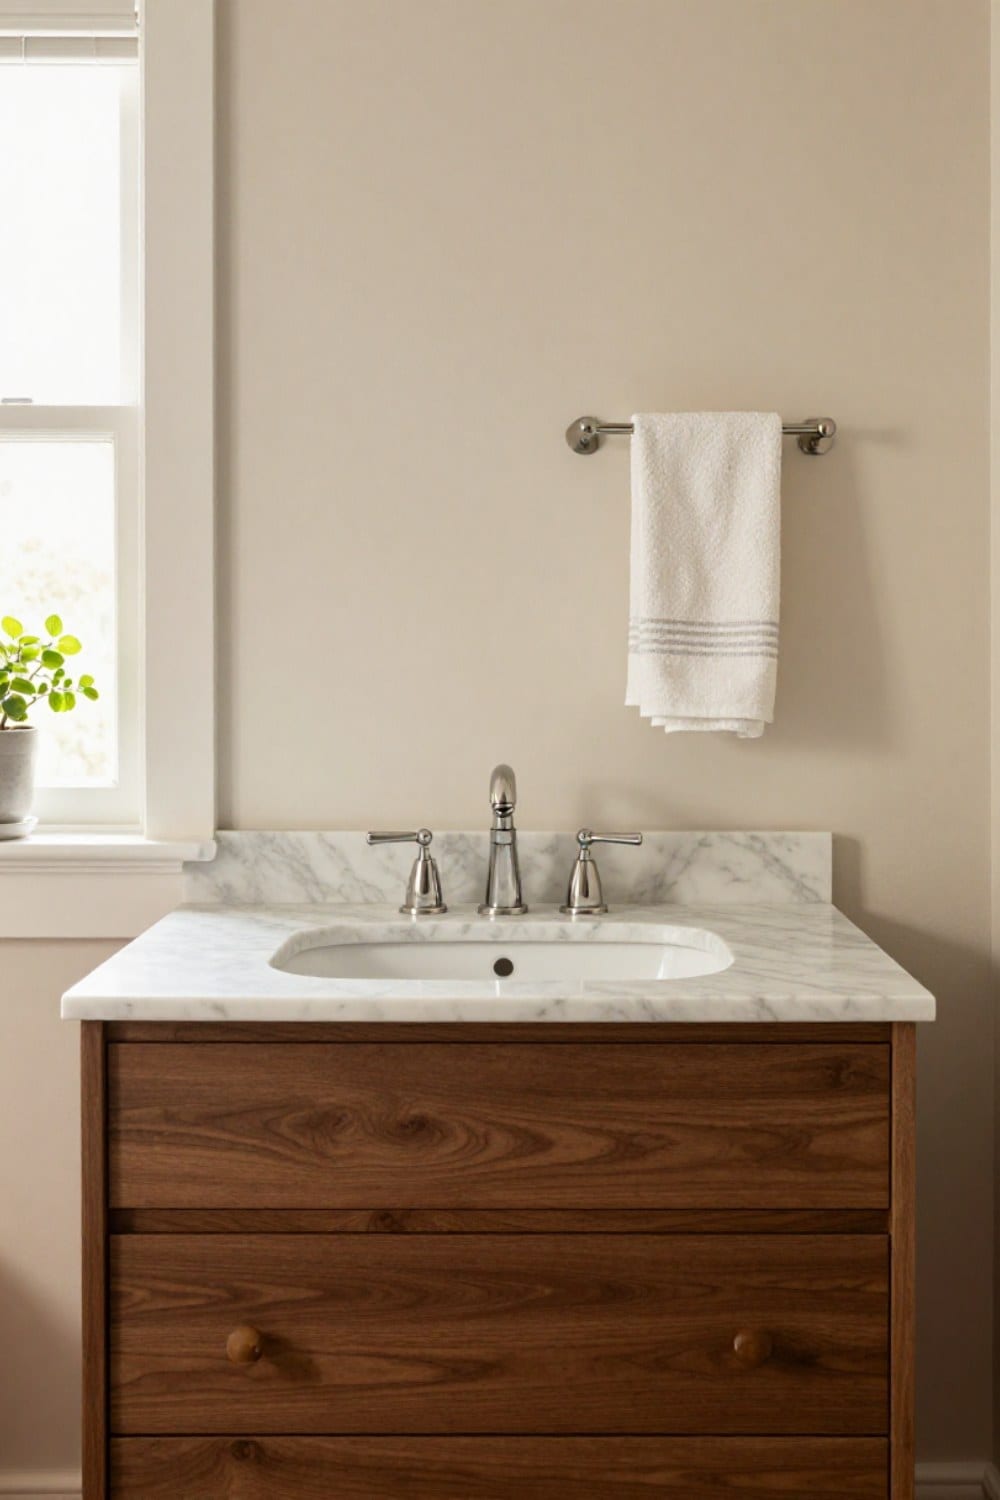
A vintage bathroom vanity is the piece that decides whether an old-house bath feels original or feels remodeled. Get it right and the room looks like it has always been this way. Get it wrong and a flat-front cabinet sits there like a guest who came to the wrong party.
I learned this in our hall bath. The cabinet that came with the house was fine, and fine was the problem. It had no legs, no weight and nothing that spoke to the original hex floor. So I stopped shopping for cabinets and started looking at furniture.
This guide covers the four routes I trust: a converted antique dresser, a washstand, a console sink on legs, and a painted vanity with a marble top. You'll also get the heights, the sealing steps and the mistakes that cost me a drawer front. For the pieces that finish the room around it, the hub is vintage bathroom decor.
What makes a vintage bathroom vanity look like it belongs in an old house
Before built-in cabinets became standard, a bathroom basin sat on a pedestal, a wall bracket or a washstand. Everything had visible legs, and you could see the floor underneath. That open look is most of what we read as old.
So I check any vanity against four things. Does it stand on legs or a low plinth? Does the top overhang the base by an inch or so? Does the hardware look like it was chosen, in porcelain, glass, nickel or aged brass? And does it have the proportions of a piece of furniture rather than a box of drawers?
Three yeses is a vanity that looks original. One is a modern cabinet in a costume. Keep the knobs and the faucet in the same metal family, too. If you haven't chosen taps yet, cross handle faucets and unlacquered brass will help you decide before you drill a single hole.
How to convert an antique dresser into a bathroom vanity
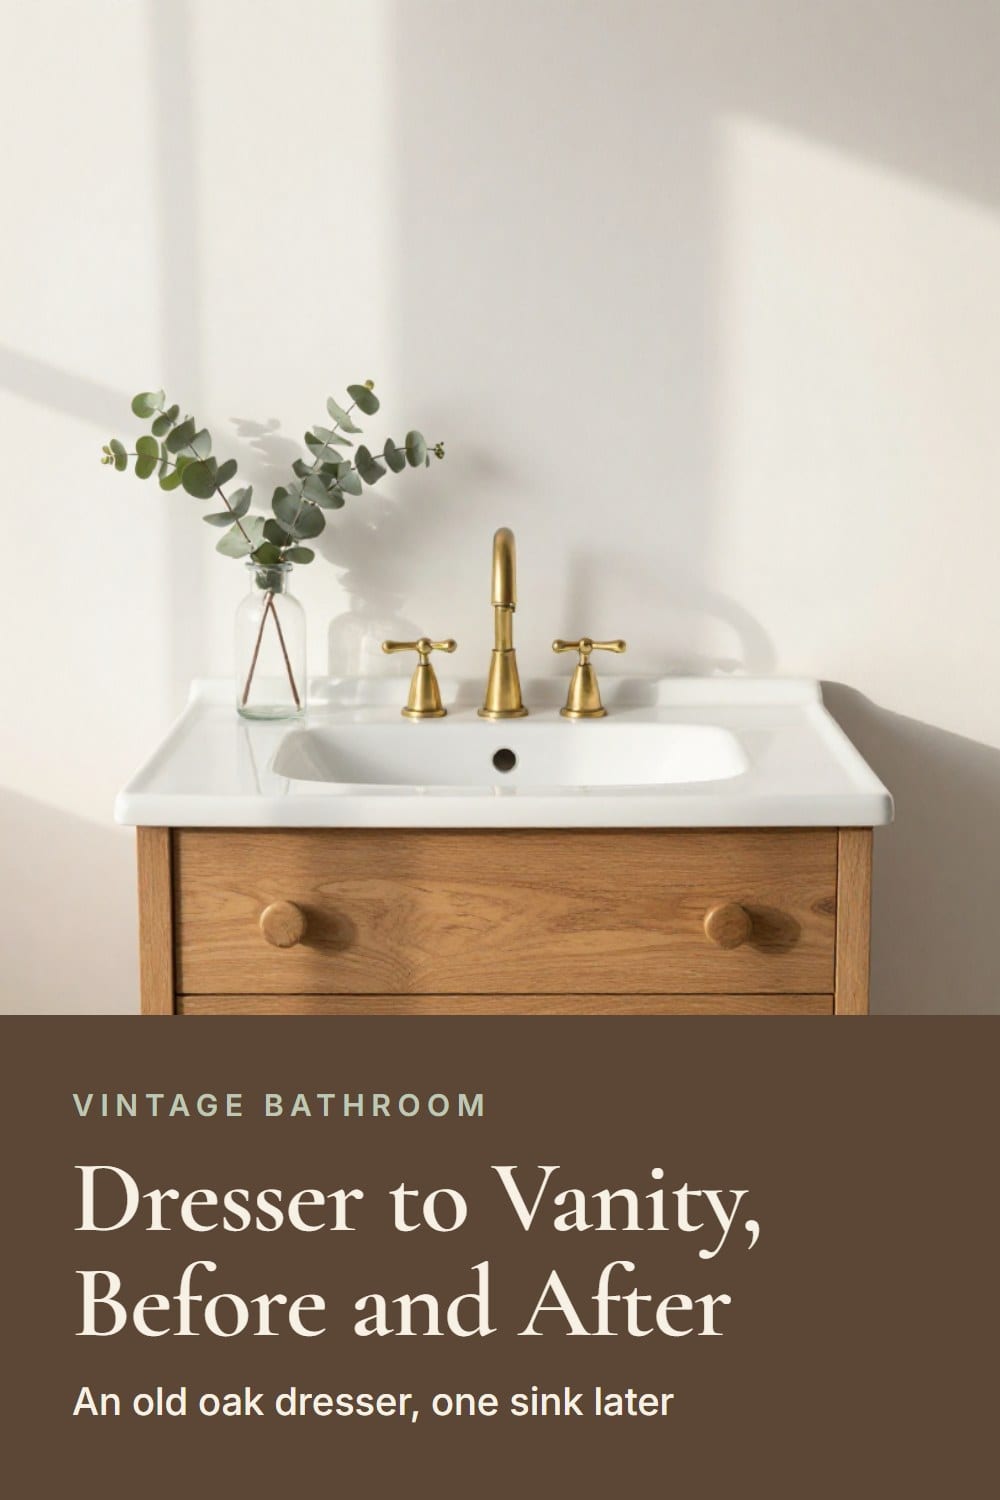
This is the idea everyone saves, and it deserves it. A dresser has the legs, the overhang and the drawer pulls already built in. You are only adding a sink.
Start with the wood. Look for a solid oak, walnut, mahogany or maple dresser with dovetailed drawers and a back that isn't thin cardboard. Check the top for lifting veneer and the feet for wobble. If a corner of the veneer already lifts in a dry bedroom, steam will finish the job.
Then measure. Most antique dressers stand 30 to 34 inches tall and 18 to 22 inches deep, which is close to what a bathroom wants. Anything much deeper eats the walkway, and anything shorter leaves you stooping once you add a bowl.
The conversion goes in this order:
- Set the dresser where it will live and mark the wall, the drain and the supply lines. Plumbing locations decide everything else.
- Trace the sink template on the top, or mark the drain hole for a vessel bowl. Check the underside for braces before you cut.
- Cut with a jigsaw and a fine blade, slowly, from the top face so the wood doesn't splinter.
- Cut a U-shaped notch or a shallow false front in the top drawer so the trap has somewhere to go.
- Seal every raw edge, the underside of the top and the inside of the notch before the sink goes in.
- Have a plumber connect the supply lines and the P-trap, and add a pair of cross braces under the top if the wood feels light for a full bowl.
The marine varnish secret for wood vanities
Marine varnish, sold as spar varnish, is what I use. It's made for boat decks, so it stays flexible as the wood swells and shrinks with humidity, and it carries UV filters so it won't cloud near a window.
Brush on three or four thin coats rather than one thick one. Sand lightly with fine paper between coats, wipe the dust, and follow the can for drying time. Then wait. The last coat needs about a week to cure before it meets water for real.
The part people skip is the underside and the cut edges. Water rarely attacks the face of a finished top. It creeps in through the raw wood around the drain and wicks upward. Coat the drain cutout, the back edge and the underside of the top with the same care you give the surface.

Vessel sink, drop-in basin or undermount
A vessel bowl sits on top of the counter, so you only need a drain hole of about two inches. It's the gentlest option for an antique top. But the bowl adds 4 to 6 inches of height, so a dresser that stands 30 to 32 inches puts the rim at a comfortable 34 to 36. A taller dresser with a vessel bowl will feel like a kitchen counter. You'll also want a tall deck-mounted faucet or a wall-mounted one so the spout clears the rim.
A drop-in basin, set into a cutout, is the most forgiving for wood. The rolled porcelain rim covers the cut edge and sheds water outward, which is exactly what you want.
An undermount sink belongs under a stone top. The edge of the stone is polished and exposed, and the basin hangs below it. It's a clean, built-in look and a good match for marble, but it asks the most of the cabinet underneath. I'd only do it on a piece that was built to carry stone.
Washstands, the original bathroom vanity
A washstand is a narrow table or cabinet built to hold a basin, often with a marble top, a low backsplash and a towel rail on each side. Antique ones run about 24 to 30 inches wide, which makes them ideal for a tight powder room or a hall bath.
Antique washstands were made for a bowl and a pitcher, not plumbing. A modern drop-in basin and a wall-mounted faucet give you the look with working water. Old marble can crack, so have a stone fabricator check the top before anyone cuts it.
A washstand has one drawback: storage. There's a shelf, a drawer if you're lucky, and not much else. If you'd rather keep a pedestal sink and find clever places for everything, pedestal sink bathroom storage ideas covers that route.
Console sinks on legs
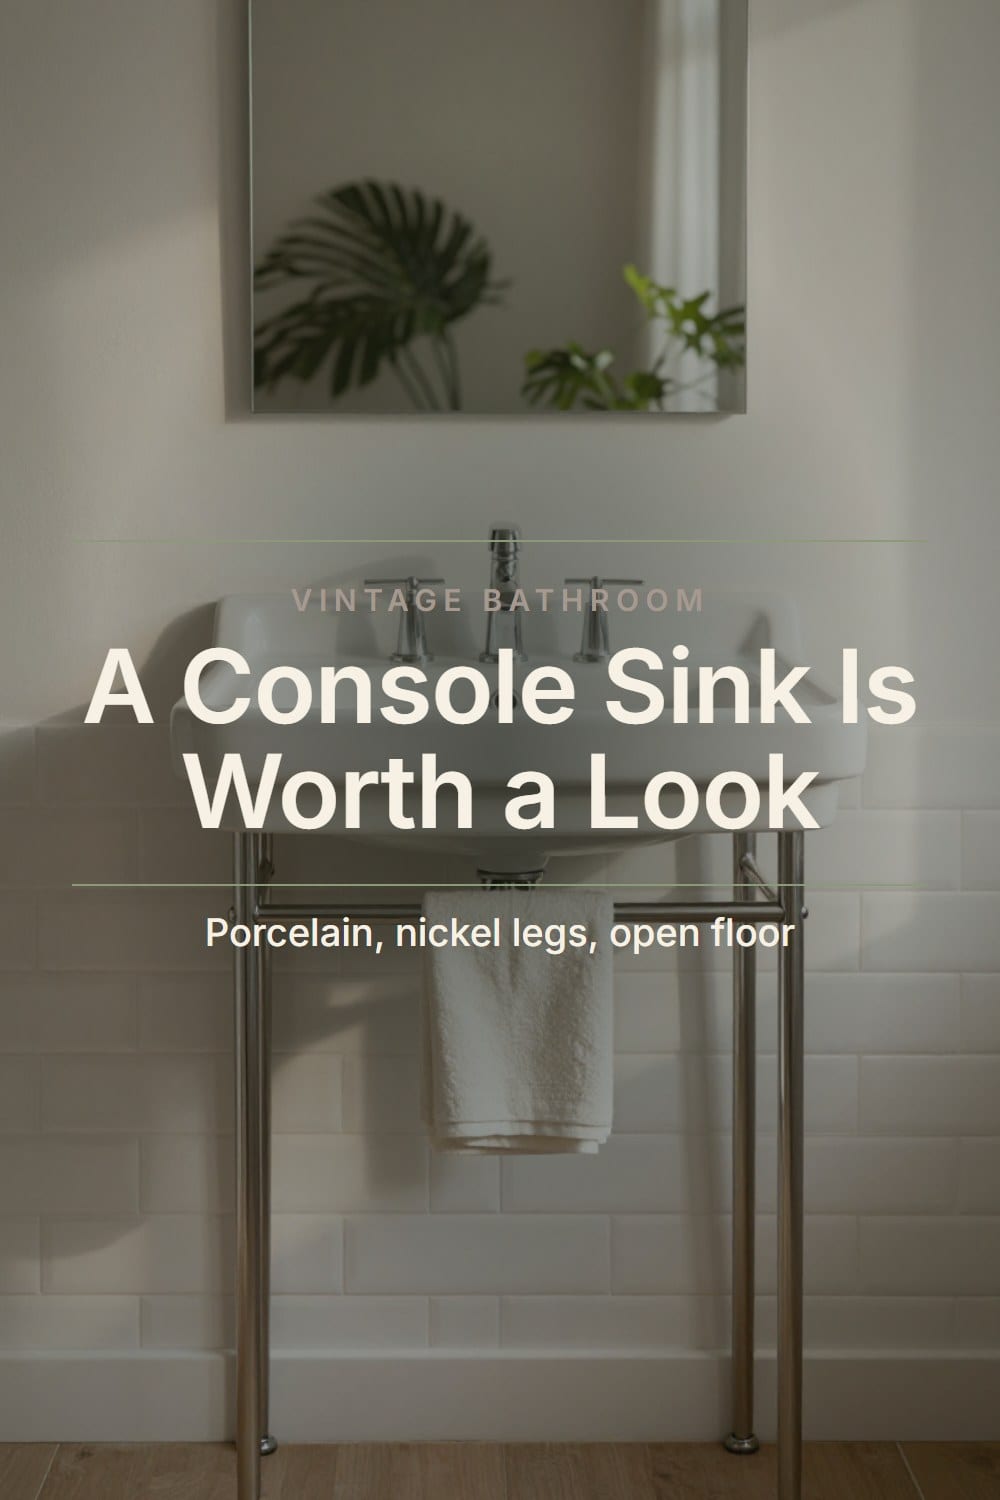
A console sink is a porcelain basin with a flat rim, held up by two or four slender legs in nickel or brass, often with a towel bar across the front. It's the lightest-looking choice here, and it keeps the floor visible.
Two things to plan for. First, the basin hangs from the wall, so the framing behind it needs solid blocking between the studs. Have a contractor confirm it before you install. Second, the plumbing is on show. Choose supply lines and a P-trap in a matching nickel or brass finish, because a gray plastic pipe will ruin the picture.
There's no cabinet, so give storage a home elsewhere: a wall shelf, a stool with folded towels. If your bathroom has a freestanding tub, clawfoot tub bathroom ideas shows how to keep the legs of both fixtures in conversation.
Painted wood vanities with marble tops and inset doors
If you want storage and a finished-cabinet look, a painted wood vanity with inset doors is the answer. Inset means the doors sit flush inside the frame with a small, even gap, the way old cabinetry was built. It reads as furniture the moment you see it.
A soft white, a gray-blue or a deep green all look at home on one. The right tone depends on your tile and your light, so test it on the cabinet itself, on a gray day. See vintage bathroom paint colors that work with old tile.
Use a cabinet enamel in satin and let it cure fully before it sees steam. Then the top. Marble is the classic, and honed marble hides the faint etches that come from toothpaste and soap. Polished marble shows every one. Both need sealing.
Marble reacts to acids, so keep vinegar and lemon cleaners away. If you want less worry, a sealed wood top or a honed granite top keeps the look and relaxes the care.

Furniture-style reproductions when you don't want to cut an antique
Not everyone wants to take a jigsaw to a family dresser, and I wouldn't blame you. A new vanity built in an old pattern solves that, and a good one is sold with the plumbing already planned.
The difference between good and disappointing is in the construction. Open a drawer and look for dovetail joints. Check that the frame is solid hardwood or plywood and not pressed fiberboard, which swells at the first leak. Ask what the finish is, and whether the top is real stone or a printed laminate that mimics it.
Height, depth and where the faucet goes
Numbers look dull until you've stood at a sink that's too low. Here are the ones I use:
- Counter height: 30 to 36 inches to the top of the counter. Most adults are comfortable at 32 to 34.
- Vessel bowls: subtract the bowl height, so aim for a base that's 30 to 32 inches tall.
- Depth: 18 to 21 inches for most vanities. A narrow 15 to 16 inch top works in a tight hall bath.
- Clearance: plan on about 21 inches of open floor in front of the vanity, and check your local code.
- Centering: the sink usually sits at least 15 inches from the side wall to its center, which is another one to confirm with your plumber.
- Faucet reach: the spout should land over the drain, or just in front of it, so water doesn't hit the back of the basin and splash.
Faucet holes deserve a sentence of their own. A widespread faucet needs three holes, usually 8 inches apart from handle to handle. A centerset needs three holes close together. A wall-mounted spout needs none in the top at all, which is one reason I like it on a dresser. Mark the holes with tape and test with the actual faucet before you drill.
Lighting at the mirror matters too. Sconces on either side of the glass give an even light and flatter a face, and vintage bathroom lighting goes through the bulbs and the shapes. Any fixture near the sink should be rated for damp locations, and rewiring an old fixture is a job for an electrician.
Where to invest and what can be everyday
I put my effort into the parts that carry weight and touch water, and I let the rest be ordinary.
Invest and everyday, by material
Solid hardwood base with a sealed top
Solid oak, walnut or mahogany with a marine varnish top will outlast almost any cabinet. It can be re-varnished, repaired and refinished for decades, and it only gets better looking with age.
Sturdy reproduction with hardwood frame
A well-built reproduction with dovetailed drawers and a sealed top does the same job without cutting into an antique. Swap the hardware and it looks collected.
Keeping wood and water on good terms
A wood vanity asks for about five minutes a week. Steam and splashes are fine on a sealed surface. It's the damp that sits for hours that does the damage.
Mistakes that spoil a vintage vanity
- Choosing a veneered dresser with lifting corners. Steam will finish what the veneer started.
- Sealing the top but not the cut edges, the underside or the back. That's where water gets in.
- Buying the dresser before choosing the sink. The sink sets the height, the depth and the faucet.
- Putting a vessel bowl on a tall dresser, so the rim lands at chest height.
- Cutting the drawer fully instead of notching it, and losing storage you didn't have to lose.
A checklist before you cut anything
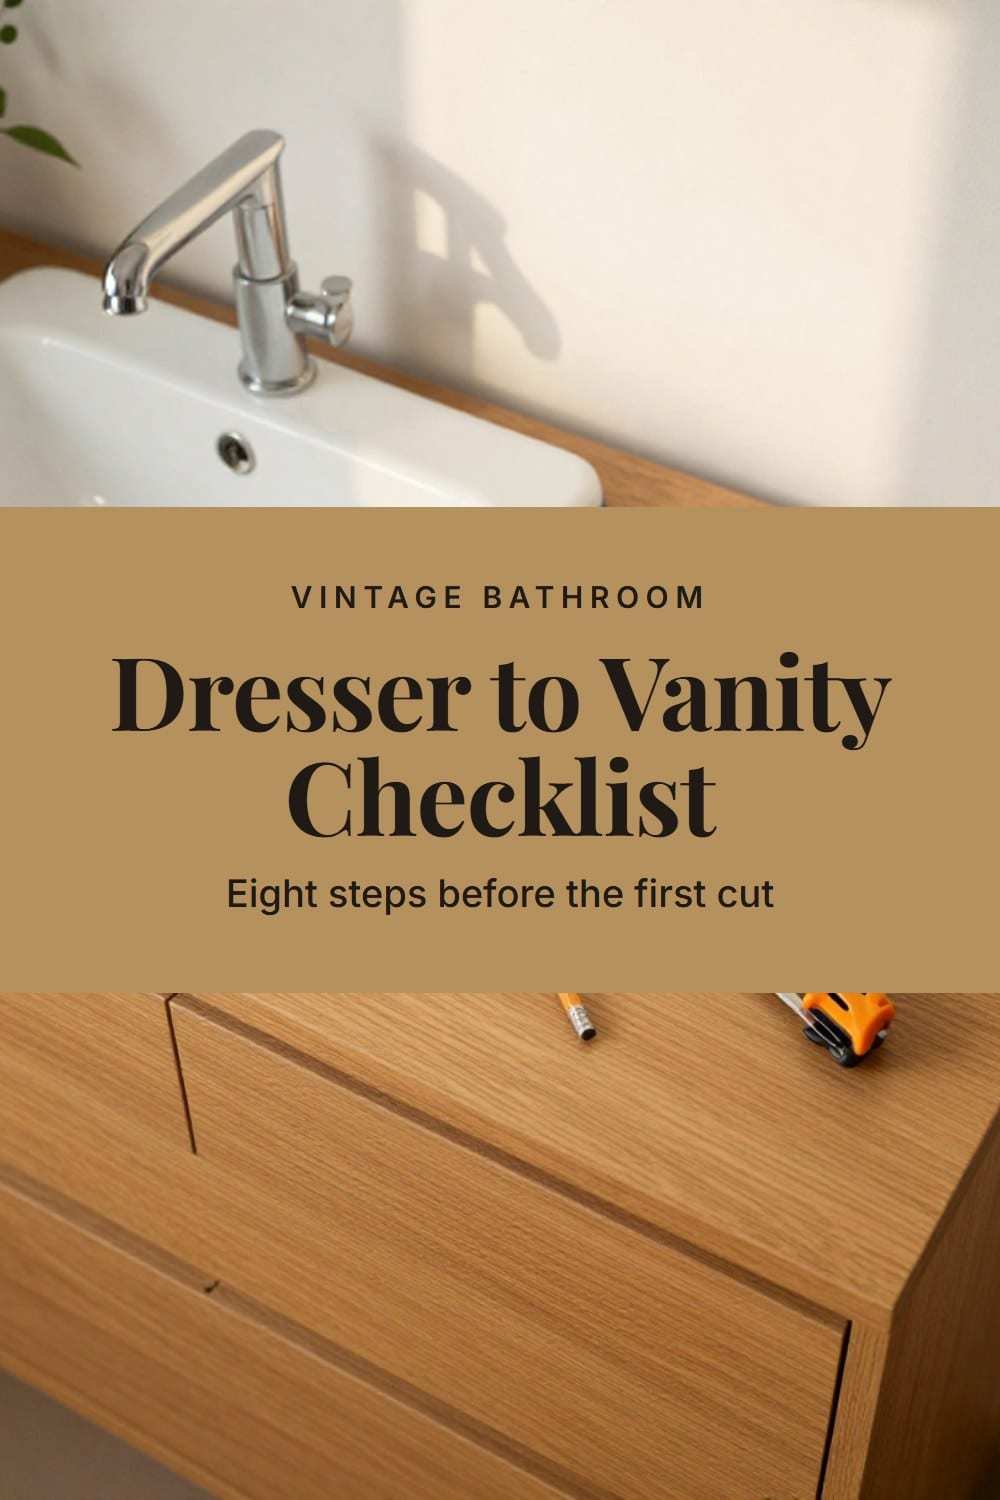
- Pick the sink first, then the dresser or vanity that suits it.
- Check the wood: solid, with no lifting veneer and no wobble.
- Test any old finish for lead before you sand or strip.
- Mark the drain and supply lines on the wall.
- Set the counter height at 30 to 36 inches, less if you use a vessel bowl.
- Notch the top drawer instead of removing it.
- Seal every edge, the underside and the drain cutout with marine varnish.
- Let the last coat cure about a week before the water goes on.
Go slowly on the first cut. The rest of the room is covered in vintage bathroom ideas, the complete guide to an old-house bath that lasts.
The Vintage Vanity Planner
The printable is being finished. It will live here, free, with no sign-up wall.
Frequently asked
Can any dresser be turned into a bathroom vanity?
How tall should a vintage bathroom vanity be?
Is marine varnish enough to protect a wood vanity?
Should I choose a marble top or a wood top?
Sarah Whitmore
she keeps the teak, she oils it in spring
Sarah has furnished the same porch three times and finally stopped. She writes about what actually survives a decade outdoors — which wood silvers, which fabric fades, and which inexpensive piece quietly reads the same as the expensive one.
SarahMore from this corner
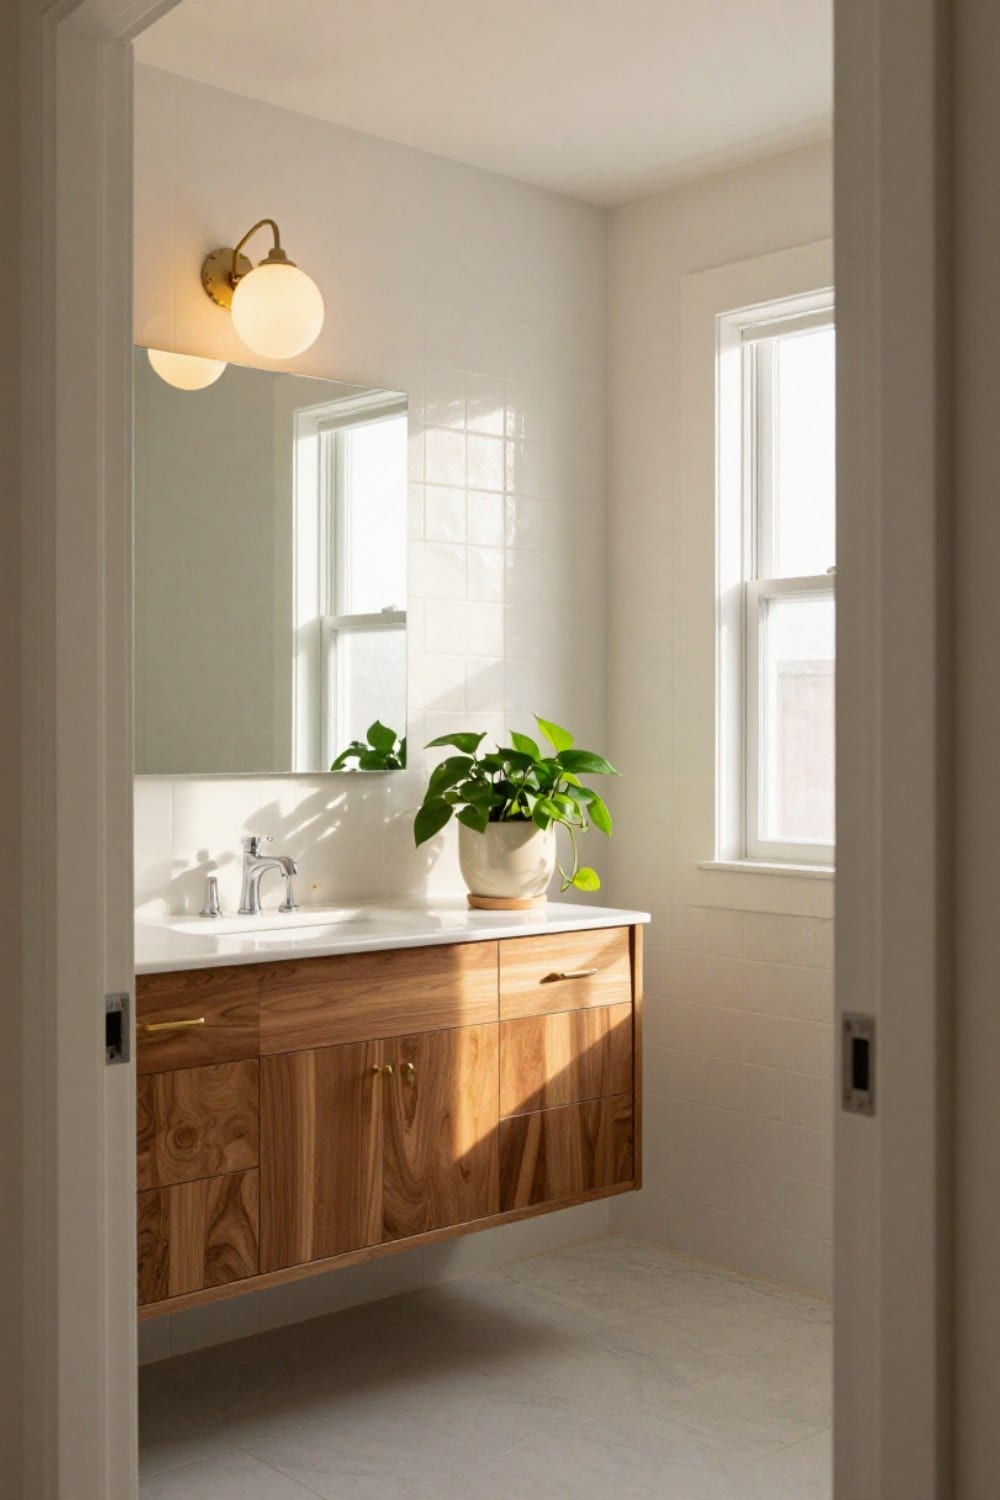 Vintage Bathroom
Mid Century Bathroom Ideas for a House Built in the 1950s and 60s
Mid century bathroom ideas for a ranch or split-level: the floating vanity, square and penny tile, globe lights, a wide mirror, and which original features to keep and update around.
Oct 31, 2026 · 12 min read
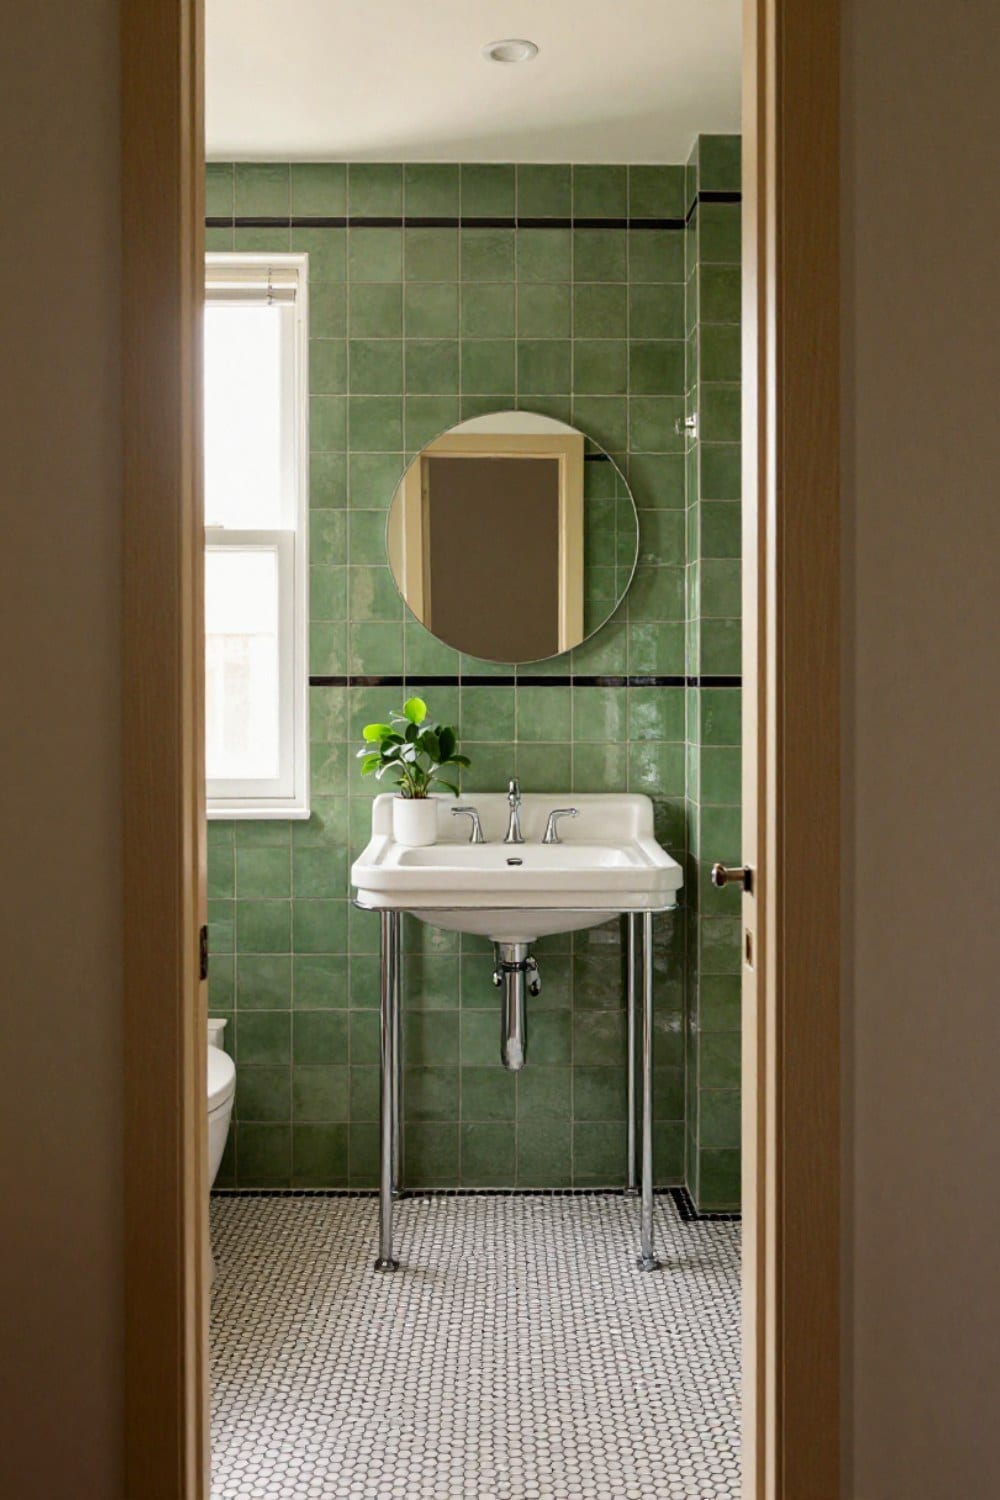 Vintage Bathroom
Art Deco Bathroom Ideas That Feel Classic, Not Costume
Art deco bathroom ideas scaled for a real house: the one-statement rule, black and white or green and black tile with a border, round mirrors, frosted sconces, a console sink on chrome legs, and the mistakes that make it look like a set.
Oct 31, 2026 · 11 min read
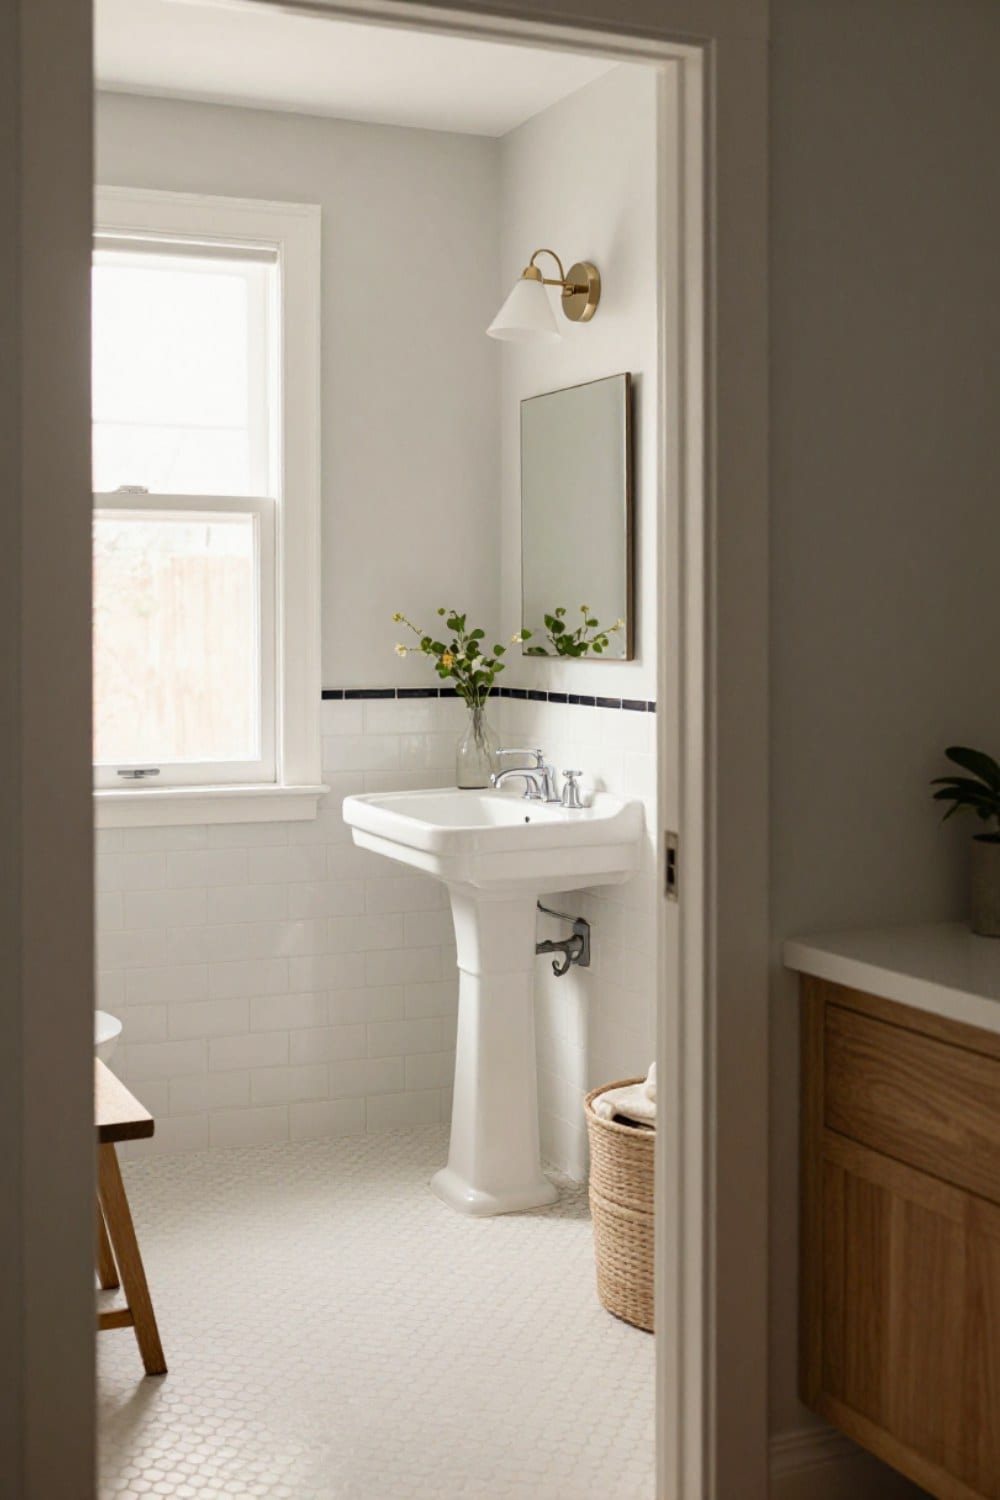 Vintage Bathroom
 Tile Ideas: The Patterns and Colors That Never Date
Vintage bathroom tile ideas that still look right decades on: the hex, penny, subway and checkerboard patterns, the glaze colors worth keeping, the grout rule that matters most, and how to decide between repair and reproduction.
Oct 29, 2026 · 12 min read