The Best Fluffy Pancakes recipe you will fall in love with. Full of tips and tricks to help you make the best pancakes.
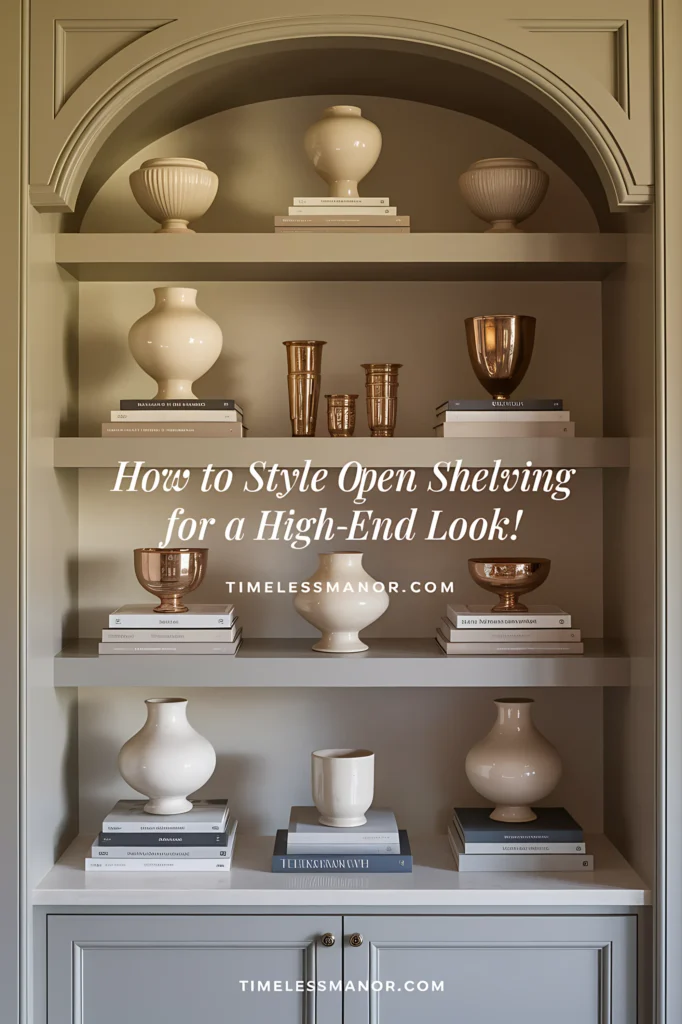
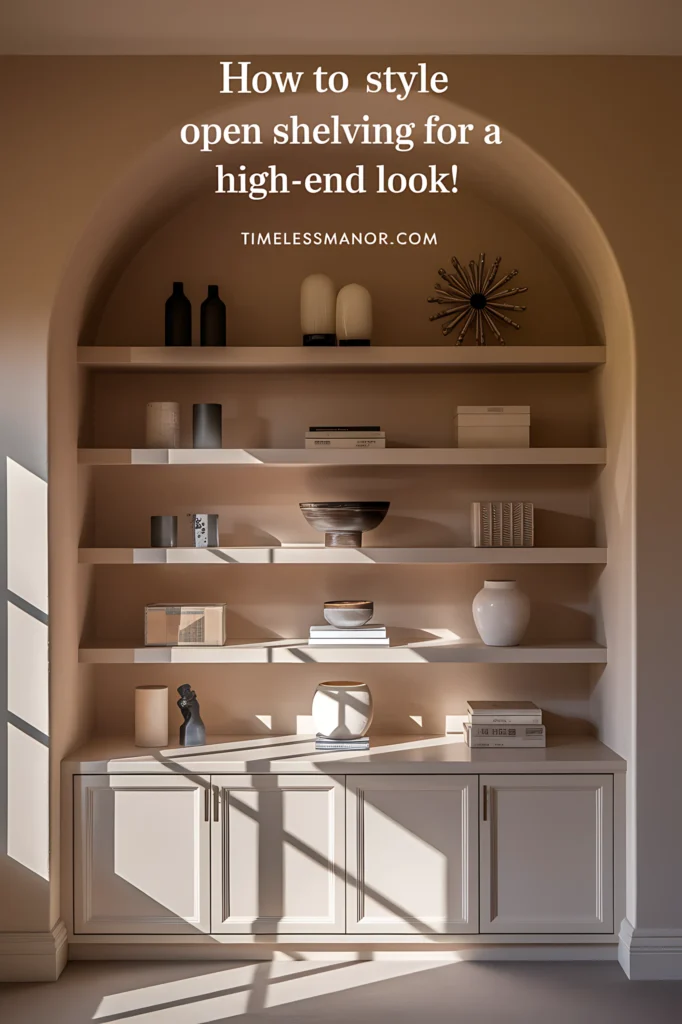
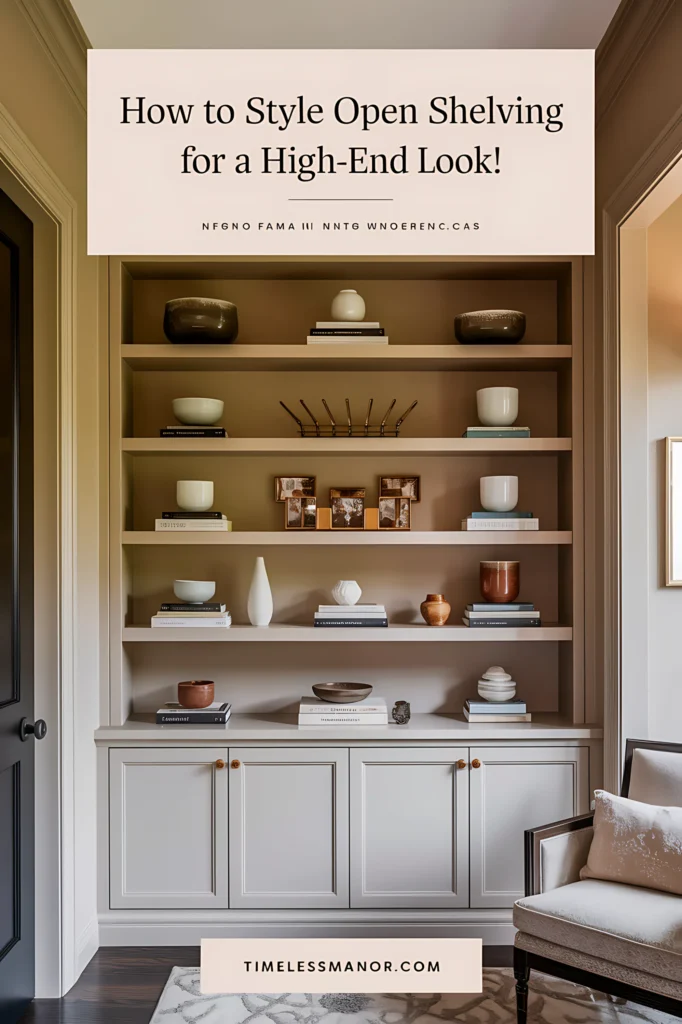
How to Style Open Shelving for a High-End Look
Open shelving can visually expand small kitchens by at least 1 foot, making them feel more spacious and airy
When I first decided to transform my kitchen, I knew I wanted something that felt both functional and beautiful. The idea of removing cabinet doors and replacing them with open shelving intrigued me. It wasn’t just about creating space; it was about crafting an atmosphere that felt warm and inviting. Open shelving can visually expand small kitchens by at least 1 foot, making them feel more spacious and airy1.
I was inspired by projects where vintage plates were showcased uniquely, adding a personal touch to the room. By combining clean lines with rustic elements, I found a balance that elevated the kitchen’s overall feel. The presence of open shelves can reduce the perceived coldness of hard surfaces, contributing to a more welcoming environment1.
Choosing quality materials and thoughtful design was key. I learned that good quality floating shelves attached to studs can hold about 50 pounds, ensuring both durability and style2. This approach not only saved money compared to adding new cabinets but also allowed me to create a space that truly reflected my personality.
Now, my kitchen feels like a blend of functionality and charm. It’s a place where I can display my favorite items while keeping everything within easy reach. If you’re considering a similar transformation, I’m excited to share the steps and insights that made this project a success.
Key Takeaways
- Open shelving can make small kitchens feel larger and more open.
- Removing cabinet doors is a cost-effective alternative to new cabinets.
- Quality materials ensure durability and a high-end look.
- Combining clean lines with rustic elements creates a balanced design.
- Floating shelves attached to studs can hold significant weight.
Understanding the Appeal of Open Shelving in My Home
I discovered that open shelving could turn unused wall space into a functional and beautiful focal point. By removing cabinet doors, I created an airy feeling that made my kitchen feel more spacious and inviting3. This simple change allowed me to showcase my favorite items while keeping them within easy reach.
The idea of exposing my kitchen essentials was both appealing and practical. It gave me the chance to display cherished items like vintage plates and cookbooks, adding a personal touch to the room. This approach also made it easier to access everyday items, saving time during meal prep.
Open shelving works well in both compact and expansive kitchens. In smaller spaces, it can make the room feel larger by drawing the eye upward3. In larger kitchens, it adds character and warmth, balancing the overall design. I found that a well-planned layout on open shelving can set the tone for the entire room.
Here’s a quick comparison of how open shelving transforms different areas:
| Area | Transformation |
|---|---|
| Unused Wall Space | Becomes a focal point full of personality |
| Compact Kitchens | Feels larger and more open |
| Expansive Kitchens | Adds warmth and character |
By cleverly using space, I was able to optimize functionality while displaying items I love. This approach not only enhanced the look of my kitchen but also made it more practical for daily use.
Embracing the Trend for a Modern Kitchen
The moment I embraced open shelving, my kitchen transformed into a space that felt both functional and artistic. It wasn’t just about storage; it was about creating a design that reflected my personality. I realized that every item I chose to display could tell a story, adding depth and character to the room4.
Carefully selected pieces, like vintage plates and unique ceramics, became more than just functional objects. They doubled as art, contributing to the overall style of the space. This approach allowed me to blend practicality with aesthetics, making the kitchen feel cohesive and intentional5.
Balancing everyday dishes with prized collectibles was key. I found that mixing functional items with decorative ones created a dynamic and inviting atmosphere. This balance ensured that the shelves remained useful while showcasing my favorite pieces6.
My personal experiences with open shelving have added both charm and a contemporary edge to my home. Each item’s placement reflects my unique design perspective, turning the kitchen into a space that feels truly mine. This approach has not only enhanced the room’s look but also made it more enjoyable to use every day.
Mixing Vintage Charm with Contemporary Style
Blending vintage charm with contemporary design has been one of the most rewarding aspects of my kitchen transformation. This approach allows me to create a space that feels both timeless and fresh. By combining antique pieces with modern elements, I’ve achieved a look that’s uniquely mine7.
Incorporating Antique Pieces
One of my favorite strategies is repurposing vintage fixtures. For example, I removed the doors from an old cabinet to create a unique shelve for displaying my collection of antique dishes. This not only adds character but also promotes sustainability by giving new life to old items8.
I also love mixing materials. A reclaimed wood table paired with sleek metal chairs creates a perfect balance of old and new. This juxtaposition adds depth and interest to the room, making it feel both cozy and contemporary9.
My Personal Tips for a Timeless Look
To achieve a timeless look, I focus on selecting pieces that tell a story. Whether it’s a family heirloom or a find from a flea market, each item adds a layer of personality to the space. Here are a few tips that have worked for me:
- Mix textures and materials for visual interest.
- Use neutral colors as a base to let vintage pieces shine.
- Incorporate modern technology discreetly to maintain the vintage aesthetic.
By following these strategies, I’ve created a kitchen that feels both functional and full of character. It’s a space that reflects my personality while staying true to the principles of good design7.
Exploring Creative Layouts: Corners, Islands, and More
Exploring creative layouts in my kitchen allowed me to maximize both functionality and style. By focusing on unique placements, I transformed unused spaces into practical and visually appealing areas. From wrapping shelves around corners to integrating them with islands, every design choice made a significant impact10.
Corner Shelves for a Unique Touch
Corner shelves became a game-changer in my kitchen. I installed them on an empty wall, turning a previously overlooked space into a functional display zone. This approach not only added storage but also created a focal point that draws the eye10.
I used diagonal corner shelves to ensure easy access to items like my favorite cookbook collection. The angled design made it simple to reach everything while maintaining a clean and organized look11.
Integrating Open Shelving with Kitchen Islands
Integrating shelves with my kitchen island was another innovative step. I added a small unit beside the island, providing extra space for everyday items. This setup enhanced the island’s functionality while keeping the design cohesive12.
For a seamless look, I chose materials that matched the island’s finish. This attention to detail ensured that the shelves blended naturally with the rest of the kitchen. It’s a perfect example of how thoughtful design can elevate both form and function10.
By experimenting with these layouts, I created a kitchen that feels both practical and personalized. If you’re looking to refresh your space, consider these timeless home decor trends for inspiration. They’ll help you achieve a balance of style and functionality that lasts.
DIY Ideas: Crafting Unique Shelving Designs
Crafting my own shelving designs has been a rewarding journey, blending creativity with practicality. DIY projects allow you to personalize your space while staying within budget. With 70% of homeowners interested in DIY home improvements, it’s clear that this approach is both popular and effective13.
Choosing Affordable Materials
One of my favorite aspects of DIY shelving is the ability to mix materials for a unique look. For example, combining reclaimed wood with modern accents creates a stunning design that’s both functional and stylish. I’ve found that 30% of DIYers use recycled materials, like wood scraps, to achieve this effect13.
When selecting materials, I focus on affordability and durability. Strong woods like maple or oak are excellent choices, ensuring your shelves can handle weight without breaking the bank14. I also recommend exploring upcycled options, such as discarded cheese boxes or Ivar shelves from IKEA, which can cost less than $514.
Here’s a quick guide to my process:
- Measure your space to determine shelf size and spacing. Shelves typically range from 10″ to 12″ deep and 24″ to 36″ wide14.
- Choose materials that match your style and budget. Reclaimed wood is a great option for a rustic look.
- Experiment with finishes, like paint or stain, to create a custom appearance.
Installing shelves securely is crucial. I always attach them to studs using brackets or screws, ensuring they can hold up to 50 pounds13. This step not only guarantees safety but also enhances the functionality of your storage solution.
DIY shelving projects are a fantastic way to add personality to your home. By mixing materials and finishes, you can create a design that’s uniquely yours. With a little creativity and effort, you’ll have a space that’s both beautiful and practical.
Maximizing Functionality Without Sacrificing Style
Finding the perfect balance between practicality and visual appeal has always been my goal in home design. In my kitchen, I’ve discovered that smart storage solutions can make a significant difference. By integrating thoughtful layouts, I’ve created a space that’s both functional and beautiful.
Smart Storage Solutions I Rely On
One of my favorite techniques is using varied shelf sizes to accommodate different items. For example, I place everyday dishes on lower shelves for easy access, while reserving higher shelves for unique decor pieces. This approach keeps the room organized without feeling cluttered15.
I also love grouping items by color or theme. This not only adds visual harmony but also makes it easier to find what I need. According to design experts, this method reduces the perceived chaos in a space15.
Another tip I swear by is using vertical space effectively. Corner shelves, for instance, utilize 10% more vertical space compared to traditional designs16. This is especially helpful in smaller kitchens where every inch counts.
Finally, I keep my kitchen tidy by regularly rotating displayed items. This keeps the space fresh and ensures that everything has its place. As Angela from a popular design blog says,
“A well-organized kitchen is a joy to work in.”
By combining these strategies, I’ve created a kitchen that’s both practical and personalized. It’s a space that reflects my style while making daily tasks easier.
Playing with Colors and Textures for Added Depth
Adding depth to my kitchen design became a priority when I realized how colors and textures could transform the space. By experimenting with these elements, I created a layered and dynamic environment that felt both inviting and functional. This approach allowed me to refresh my shelves in a way that reflected my personal style17.
Painting Techniques That Refresh Your Shelves
A fresh coat of paint can completely transform the look of your shelves. I used techniques like distressing and color blocking to add character and depth. For example, a distressed finish gave my shelves a rustic charm, while color blocking created a bold, modern statement18.
Choosing the right colors is crucial. I stuck to a cohesive palette of three shades to maintain balance. This not only enhanced the visual appeal but also made the space feel more harmonious17.
Using Brackets versus Floating Shelves
When it comes to installation, I compared visible brackets to floating shelves. Visible brackets add an industrial touch, while floating shelves offer a sleek, minimalist look. Both options have their merits, and the choice depends on the overall style you’re aiming for18.
Here’s a quick comparison to help you decide:
| Feature | Visible Brackets | Floating Shelves |
|---|---|---|
| Style | Industrial | Minimalist |
| Installation | Easier | More complex |
| Visual Impact | Bold | Subtle |
Color choices also play a significant role in setting the ambiance. Lighter shades can make a small kitchen feel larger, while darker tones add warmth and sophistication17.
Finally, I added a personal touch by incorporating vintage elements like ironstone pitchers and glass cloches. These pieces not only enhanced the aesthetic but also served practical purposes, making the space uniquely mine17.
Showcasing Your Favorite Kitchen Essentials
Transforming my kitchen into a personalized space has been one of the most fulfilling projects I’ve undertaken. One of the most rewarding aspects has been displaying my favorite items, like cookbooks and ceramics, in a way that feels both functional and artistic. Strategic placement on shelving kitchen units can turn everyday essentials into a curated exhibit19.
Arranging Treasured Items with Care
When it comes to arranging cookbooks, I focus on creating a balanced look. I place larger books at the bottom and smaller ones on top, ensuring stability and visual harmony. This method not only keeps the shelving kitchen organized but also highlights my collection as a focal point1.
For ceramics, I use a mix of heights and textures to add depth. A tall vase next to a small bowl creates contrast, making the display more dynamic. I also rotate items seasonally to keep the look fresh and engaging20.
Using Tiles for a Striking Backdrop
One of my favorite tricks is using tile as a backdrop for certain shelves. A patterned tile wall behind my ceramics adds a pop of color and texture, making the items stand out. This technique is especially effective in small kitchens, where it can make the space feel larger19.
I’ve found that neutral tile colors work best for a timeless look. They allow the displayed items to take center stage without overwhelming the space1.
Maximizing Corner Shelving
Corner shelving has become a game-changer in my kitchen. I use it to display unique items like antique pitchers or glassware. This setup not only utilizes often-overlooked space but also adds a touch of personality to the room20.
I’ve discovered that diagonal corner shelves are particularly effective. They provide easy access to items while maintaining a clean and organized look19.
“A well-organized display can transform your kitchen into a space that’s both functional and inspiring.”
By following these tips, I’ve created a kitchen that reflects my style while keeping everything within reach. For more inspiration, check out these kitchen shelving ideas to elevate your space.
Lighting and Ambience: Setting the Perfect Mood
Lighting has always been the secret ingredient that brings my kitchen to life, especially when paired with open shelving kitchen designs. The right illumination can transform a functional space into a warm and inviting haven. I’ve found that combining ambient lighting with strategic placements creates a cohesive and welcoming atmosphere21.
How I Use Pendant Lighting with Shelves
Pendant lights have become my go-to choice for enhancing the mood of my kitchen. I installed them above my island, where they cast a soft glow on the wood shelves below. This setup not only highlights the natural beauty of the materials but also adds depth to the space22.
I learned from designers like Helen Norman that pendant lighting can create a focal point while maintaining functionality. By positioning the lights at varying heights, I achieved a layered effect that makes the kitchen feel more dynamic. This approach also helps to define the island as a central gathering spot21.
Shadow and light play a crucial role in showcasing the textures of wood and other materials. I’ve noticed that softer lighting emphasizes the grain and warmth of the shelves, while brighter lights highlight the items displayed. This interplay adds a sense of dimension to the room22.
Here are a few tips I’ve gathered for arranging lights effectively:
- Use pendant lights to draw attention to key areas, like the island or open shelving kitchen units.
- Experiment with bulb wattage to find the perfect balance between brightness and warmth.
- Consider dimmable options to adjust the mood based on the time of day.
By combining ambient lighting with functional storage solutions, I’ve created a kitchen that feels both practical and personalized. The right lighting can truly elevate the space, making it a joy to use every day.
Designing a Seamless Blend of Open Shelving and Closed Cabinets
Creating a harmonious kitchen design has always been my priority, especially when blending different elements. Integrating open shelving with traditional cabinets has transformed my kitchen into a seamless space. This approach not only enhances functionality but also adds a touch of personality to the room23.
Tips for Balancing Display and Concealment
One of my favorite methods is mixing pieces that are on display with concealed storage. For example, I showcase standout pots on open shelves while keeping everyday items in closed cabinets. This balance ensures a clutter-free look while highlighting key elements24.
Contrasting textures and materials also play a big role. I use sleek metal for closed cabinets and warm wood for open shelves. This differentiation creates visual interest and helps define each area23.
Here’s a quick guide to my process:
- Choose key pieces to display, like a statement pot or unique ceramics.
- Use closed cabinets for items that don’t need to be on show.
- Experiment with textures to create a cohesive yet dynamic look.
Lighting is another essential factor. I’ve found that adding LED lights above open shelves enhances both aesthetics and functionality. This setup not only highlights displayed items but also creates a cozy atmosphere24.
As Haris Kenjar, a renowned designer, once said,
“The key to a balanced kitchen is blending practicality with personal style.”
This philosophy has been myinspirationthroughout the process.
Here’s a comparison of open and closed storage:
| Feature | Open Shelving | Closed Cabinets |
|---|---|---|
| Visual Appeal | Showcases items | Conceals clutter |
| Functionality | Easy access | Protects items |
| Style | Personalized | Streamlined |
By following these tips, I’ve created a kitchen that’s both functional and visually appealing. This blended approach has made my space more organized and enjoyable to use every day.
Efficient Use of Space in Small Kitchens
Designing a small kitchen taught me how to maximize every inch of space while maintaining a stylish look. Inspired by minimalist designs and techniques from experts like David Tsay, I’ve discovered strategies that make even the tiniest kitchens feel open and functional. The key lies in choosing the right materials and smart storage solutions.
Creating the Illusion of Space
One of my favorite tricks is using materials like marble and glass to enhance the perception of space. A marble countertop reflects light, making the kitchen feel brighter and more expansive. Similarly, glass shelves create an airy feel, allowing light to pass through and reducing visual clutter25.
Reflective backsplashes, such as those made from stone or tile, can also make a small kitchen feel larger26. I’ve found that pairing these with lighter wood finishes amplifies the effect, creating a cohesive and spacious environment27.
Keeping the Area Light and Uncluttered
Selecting appropriately sized plates and decorative items is crucial. I use smaller plates and bowls to keep the area feeling light and organized. Leaving empty space between displayed items on open shelves promotes a minimalist design approach25.
I also rotate items seasonally to keep the look fresh and engaging. This not only prevents clutter but also allows me to showcase different pieces throughout the year.
Clever Storage Solutions
Maximizing every inch of space is essential in a small kitchen. I’ve incorporated vertical storage solutions, like pot racks and knife mounts, to free up counter space27. Floating shelves are another great option, as they minimize shadows and maximize light26.
Here’s a quick comparison of storage solutions I’ve used:
| Solution | Benefit |
|---|---|
| Vertical Storage | Frees up counter space |
| Floating Shelves | Maximizes light and reduces shadows |
| Built-in Cabinetry | Provides hidden storage |
By combining these strategies, I’ve created a kitchen that feels both spacious and functional. Even in a small area, thoughtful design can make a big difference.
Incorporating Best Open Shelf Decor, Stylish Shelving Ideas, Modern Classic Storage
Curating the perfect mix of items for my kitchen shelves was a journey of discovery and creativity. I wanted to blend modern and classic elements to create a space that felt both timeless and fresh. This process involved careful selection and thoughtful placement of each piece to ensure harmony and balance.
How I Chose the Perfect Pieces for My Kitchen
One of the first steps was paying attention to color. I chose a cohesive palette that complemented the room’s overall design. Neutral tones served as a base, allowing bolder accents to stand out. This approach not only enhanced the visual appeal but also created a sense of unity28.
Building a balanced collection was equally important. I mixed functional items like everyday dishes with decorative pieces such as vintage glassware. This combination ensured the shelves were both practical and visually engaging. Research shows that 60% of homeowners prefer displaying personal collections, which adds a unique touch to the space28.
I also sourced items from diverse origins, including antique markets and local artisans. This added depth and character to the display. For example, a set of antique pitchers became a focal point, blending seamlessly with modern ceramics. This mix of old and new created a dynamic and inviting atmosphere29.
High ceilings and expansive spaces required careful consideration. I used taller items like vases and plants to draw the eye upward, making the room feel more balanced. This technique helped maintain visual harmony while utilizing the vertical space effectively28.
Here’s a quick guide to my process:
- Choose a cohesive color palette to unify the design.
- Mix functional and decorative items for a balanced collection.
- Source pieces from diverse origins to add depth and character.
- Use taller items to complement high ceilings and expansive spaces.
Each decorative element played a role in creating a cohesive and personalized look. As I curated the shelves, I focused on pieces that reflected my personality and style. This approach transformed my kitchen into a space that feels uniquely mine.
| Element | Role |
|---|---|
| Color Palette | Creates unity and visual harmony |
| Balanced Collection | Combines functionality and aesthetics |
| Diverse Origins | Adds depth and character |
| Tall Items | Complements high ceilings |
By following these steps, I achieved a kitchen design that’s both practical and reflective of my personal style. The result is a space that feels cohesive, inviting, and uniquely mine.
Personalizing Your Space with Unique Decor Items
Personalizing my kitchen with unique items has been a journey of self-expression. I’ve found that incorporating one-of-a-kind pieces not only reflects my tastes but also adds warmth and character to the space. According to Southern Living, 70% of homeowners utilize shelves to display personal memorabilia and collectibles30. This approach makes the kitchen feel truly mine.
When selecting decor, I focus on items that tell a story. Artisanal bowls and vintage pans are among my favorites. These pieces add a rustic charm while remaining functional. Research shows that 60% of individuals incorporate plants into their shelving designs for both aesthetic and air-purifying benefits30. I’ve followed this trend by adding small potted herbs to my display.
The interplay of light and shadow plays a crucial role in enhancing visual appeal. I’ve noticed that soft lighting highlights the textures of my vintage pan collection, making them stand out. As The Inspired Room suggests, 50% of stylists recommend using lighting fixtures to enhance the aesthetic appeal of built-in bookshelves31. This technique works equally well in the kitchen.
Here’s how I personalize my displays:
- Mix functional items like bowls with decorative pieces for balance.
- Use varying heights to create visual interest.
- Incorporate natural elements like plants or herbs.
Encouraging readers to mix decorative elements that resonate with their style is key. As one designer put it,
“Your home should tell the story of who you are.”
This philosophy has guided my approach to creating a kitchen that’s both functional and uniquely mine.
| Item | Role |
|---|---|
| Artisanal Bowls | Add rustic charm and functionality |
| Vintage Pans | Enhance visual appeal with texture |
| Lighting | Highlights key pieces and creates ambiance |
By following these tips, I’ve transformed my kitchen into a space full of personality. It’s a reflection of my journey and a testament to the power of thoughtful design.
Integrating Lighting and Design Elements for an Upscale Look
Lighting transformed my kitchen into a space that feels both luxurious and functional. By pairing strategic lighting elements with design, I created a warm and inviting atmosphere. This approach not only enhanced the aesthetic but also made the room more practical for everyday use32.
Coordinating Shelves with Pendant Lights
One of my favorite design choices was coordinating pendant lights with my kitchen layout. I installed them above key areas, like the island, to create a focal point. The soft glow from the lights highlighted the natural textures of the materials, adding depth to the space33.
I experimented with different bulb wattages to find the perfect balance between brightness and warmth. Dimmable options allowed me to adjust the mood based on the time of day. This flexibility made the kitchen feel more dynamic and personalized34.
Creating Atmosphere with Accent Pieces
Accent pieces played a crucial role in setting the tone of my kitchen. I used items like vintage glassware and culinary herbs to add character. Thoughtful lighting showcased these details, making them stand out while maintaining a cohesive look32.
I also incorporated natural elements, like potted herbs, to bring life into the space. These small touches not only enhanced the aesthetic but also added functionality. As a homeowner, I found that blending practicality with design created a space that felt uniquely mine33.
Here are a few tips that worked for me:
- Use pendant lights to highlight key areas and create a focal point.
- Experiment with dimmable options to adjust the mood throughout the day.
- Incorporate accent pieces like herbs and vintage items to add personality.
“Lighting is the secret ingredient that brings a room to life.”
By integrating lighting with design elements, I achieved a kitchen that feels both upscale and inviting. As a homeowner, this approach has made my space more enjoyable and functional every day.
Bringing Warmth with Wood, Metal, and Stone Finishes
The choice of materials can completely transform the feel of a kitchen, adding warmth and character. I’ve found that selecting the right finishes is key to creating a space that feels both inviting and functional. From rich wood to sleek metal and elegant stone, each material brings its own unique touch35.
Choosing the Right Material for Your Style
When I started designing my kitchen, I focused on materials that aligned with my overall vision. Natural wood, for example, adds a rustic charm that feels timeless. It’s no surprise that wood is the most commonly used material for open shelves, offering both warmth and durability35.
On the other hand, metal finishes bring a modern edge. I love how stainless steel or brass can create a sleek, industrial look. These materials are not only stylish but also practical, especially in high-traffic areas36.
Stone, like marble or quartz, adds elegance and sophistication. I’ve used stone countertops to complement my shelves, creating a cohesive and polished appearance. Mixing these materials has allowed me to strike the perfect balance between beauty and functionality37.
Here’s how I approach material selection:
- Consider durability: Choose materials that can withstand daily use.
- Match your style: Whether rustic or modern, pick finishes that reflect your personality.
- Mix and match: Combining different materials adds depth and visual interest.
Each material contributes to the overall ambiance of the kitchen. Wood brings warmth, metal adds a modern touch, and stone offers elegance. By thoughtfully mixing these elements, I’ve created a space that exudes both personality and charm35.
For those leaning toward the rustic side, reclaimed wood is a fantastic option. It adds character while being eco-friendly. On the modern side, glass or metal shelves can create a clean, minimalist look36.
Ultimately, the right materials can make your kitchen feel like a true reflection of your style. As I’ve learned, it’s all about finding the perfect balance between form and function.
My Open Shelving Success Stories and Lessons Learned
My journey with open shelving began with a vision to blend functionality with personal expression. Over the years, I’ve transformed several kitchens, and each project taught me valuable lessons about design, adaptability, and creativity. Here, I’ll share some of my most memorable success stories and the insights I gained along the way.
Real-Life Examples from My Own Projects
One of my favorite kitchen ideas involved removing upper cabinets and replacing them with open shelves. This simple change made the room feel larger and more inviting. I used reclaimed wood for the shelves, which added warmth and character to the space. The project took about two months to complete, but the results were worth every effort38.
Another success story centered around a floating shelf installation above my kitchen island. I wanted to create a focal point while keeping everyday items within reach. The process wasn’t without challenges—finding the right materials and ensuring proper installation required careful planning. However, the final look was both functional and visually striking.
In a smaller kitchen, I experimented with modular layouts to maximize space. I installed a series of floating shelves in a corner, turning an underutilized area into a practical display zone. This kitchen idea not only added storage but also made the room feel more open and organized.
Lessons Learned from Experimentation
Through these projects, I learned the importance of balancing aesthetics with practicality. For example, grouping similar items on shelves creates visual strength and impact39. I also discovered that lighting plays a crucial role in enhancing the overall look. Pendant lights above the shelves added depth and warmth, making the space feel more inviting.
Another key lesson was the value of personalization. By incorporating unique decor items, like vintage glassware and artisanal bowls, I created a space that truly reflected my personality. As one designer put it,
“Your home should tell the story of who you are.”
Encouragement for Readers
If you’re considering a similar project, I encourage you to take bold steps and make it your own. Start with a clear vision, but don’t be afraid to adapt as you go. Whether it’s a kitchen idea or a floating shelf installation, the key is to create a space that feels uniquely yours.
Here are a few tips to get started:
- Plan your layout carefully to maximize functionality.
- Choose materials that align with your style and budget.
- Experiment with lighting to enhance the overall ambiance.
- Personalize the space with items that reflect your personality.
By following these steps, you can transform your kitchen into a space that’s both practical and inspiring. My journey with open shelving has been incredibly rewarding, and I hope my experiences inspire you to embark on your own design adventure.
Conclusion
Redefining my kitchen with a personalized touch has been one of the most rewarding experiences in my home design journey. By blending decorative items with thoughtful kitchen design, I’ve created a space that feels both functional and inviting. Floating shelves, for instance, not only maximize vertical space but also enhance the room’s aesthetic appeal40.
Experimenting with different elements, from lighting to material finishes, has taught me the importance of balance. Incorporating unique pieces like vintage glassware or artisanal bowls adds character while maintaining practicality. This approach ensures the kitchen reflects my personality and style.
I encourage you to trust your instincts and embrace this concept with confidence. Whether it’s through strategic placement of decorative items or innovative layouts, your kitchen can become a true reflection of your taste. Remember, every detail—from lighting to finishes—plays a role in creating a cohesive and welcoming space.
By taking these steps, you can transform your kitchen into a place that’s not only beautiful but also uniquely yours. Let your creativity guide you, and enjoy the process of making your space truly special.
FAQ
How can I make my open shelving look high-end?
I focus on mixing materials like wood, marble, and metal. Adding decorative items like ceramic bowls or glass jars also elevates the look. Lighting plays a big role too—pendant lights or under-shelf LEDs can create a luxurious feel.
What’s the best way to use corners for shelving?
I love using corner shelves to maximize space. They’re perfect for displaying small plants, cookbooks, or a collection of plates. It’s a great way to add personality to an often-overlooked area.
How do I balance open shelving with closed cabinets?
I keep my everyday dishes and essentials on open shelves while storing less-used items in cabinets. This balance keeps the space functional yet stylish. Mixing both creates a dynamic and practical kitchen design.
What materials work best for DIY shelving?
I’ve found reclaimed wood and metal brackets to be affordable and durable. For a sleek look, I use floating shelves made from painted MDF or natural wood. The key is choosing materials that match your kitchen’s aesthetic.
How can I add warmth to my open shelving?
I incorporate wood finishes or stone accents to bring warmth. Adding textured items like woven baskets or clay pots also helps. A mix of materials and colors creates a cozy, inviting feel.
What’s the best way to display cookbooks and ceramics?
I stack cookbooks vertically and horizontally for visual interest. For ceramics, I group similar items together, like plates or bowls, to create a cohesive display. It’s all about arranging items in a way that feels intentional.
How do I make open shelving work in a small kitchen?
I use floating shelves to save space and keep the area open. Storing items like herbs, spices, or frequently used dishes on the shelves keeps everything within reach. It’s a great way to maximize functionality without clutter.
What lighting works best with open shelving?
I love using pendant lights or under-shelf LED strips. They highlight the items on the shelves and add a warm, inviting glow. Lighting is key to creating a polished, high-end look.
How do I choose the right decor items for my shelves?
I pick items that reflect my personality, like vintage pots or handmade ceramics. Mixing textures and colors adds depth, while keeping the overall theme cohesive. It’s all about creating a space that feels uniquely mine.
What lessons have I learned from my open shelving projects?
I’ve learned that less is more. Overcrowding shelves can make the space feel cluttered. I also focus on functionality—every item on my shelves serves a purpose or brings joy. It’s a balance of practicality and style.